When I’m on the lookout for healthy dinner options that won’t stretch my budget, I often find myself returning to a few favorite recipes. They strike the perfect balance between nutrition and cost, making meal prep easier and more enjoyable. I’ve narrowed it down to 7 easy recipes that I think you’ll appreciate too. Let me share these dishes with you; they might just become your go-to meals.
One-Pot Veggie Stir-Fry
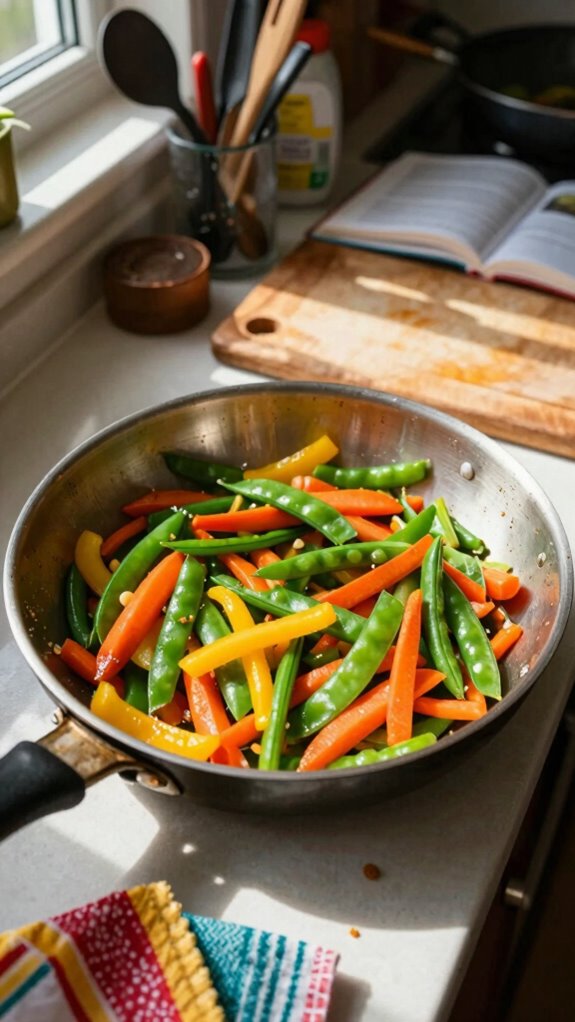
One-Pot Veggie Stir-Fry is a quick, vibrant, and nourishing dish prepared using a variety of fresh vegetables and a flavorful sauce, all cooked together in one pot for minimal cleanup. This dish is perfect for weeknights when you want something healthy, satisfying, and easy to prepare.
| Total Time | Difficulty | Number of Servings | Main Ingredient/Unique Feature |
|---|---|---|---|
| 30 minutes | Easy | 4 | Colorful mix of fresh veggies |
This One-Pot Veggie Stir-Fry is an easy dish that anyone can master, making it perfect even for novice cooks. It takes about 10 minutes of preparation time and roughly 20 minutes to cook, allowing you to serve a full meal in just half an hour. An important tip is to have all your ingredients prepped and ready before you start cooking; this will streamline the process and ensure that everything cooks evenly.
| Ingredients | Quantity |
|---|---|
| Vegetable oil | 2 tablespoons |
| Bell peppers | 1 cup, chopped |
| Broccoli | 1 cup, florets |
| Carrot | 1 medium, sliced |
| Snap peas | 1 cup |
| Garlic | 2 cloves, minced |
| Soy sauce | 1/4 cup |
| Sesame oil | 1 teaspoon |
| Red pepper flakes | 1/2 teaspoon |
| Cooked rice or noodles | 4 cups, optional |
Feel free to customize your stir-fry by swapping in different vegetables based on what you have on hand or what’s in season. Seasonal additions like zucchini or asparagus can add variety, and protein options such as tofu, chicken, or shrimp can be incorporated for an extra nutritional boost.
| Kitchen Tool | Purpose |
|---|---|
| Large pot | Used for cooking the stir-fry and reducing the need for multiple dishes. |
| Cutting board | Helps to chop vegetables easily and safely. |
| Chef’s knife | Essential tool for chopping vegetables. |
| Wooden spoon | Ideal for stirring and mixing ingredients without scratching the pot. |
| Measuring cups | Used to measure liquids accurately for the stir-fry sauce. |
| Serving dish | For presenting the finished dish beautifully. |
- Start by heating the vegetable oil in a large pot over medium heat.
- Add the minced garlic and cook for about 30 seconds until fragrant.
- Toss in the chopped bell peppers, broccoli florets, sliced carrot, and snap peas.
- Stir-fry the vegetables for about 5-7 minutes, or until they begin to soften but still maintain some crunch.
- Pour in the soy sauce, sesame oil, and red pepper flakes, stirring to coat all the vegetables thoroughly.
- Cook for an additional 5 minutes to allow the flavors to meld together.
- Serve the stir-fry over cooked rice or noodles, if desired.
To serve your One-Pot Veggie Stir-Fry, plate it in a large serving dish and garnish with sesame seeds or sliced green onions for a pop of color and flavor. This will not only enhance the look of your dish but also add a delightful crunch.
This dish pairs wonderfully with a side of crispy spring rolls or dumplings, providing a nice contrast in texture. For drinks, consider serving it with light beverages such as iced green tea or refreshing lemonade, which will complement the flavors of the stir-fry without overpowering it.
Black Bean Tacos
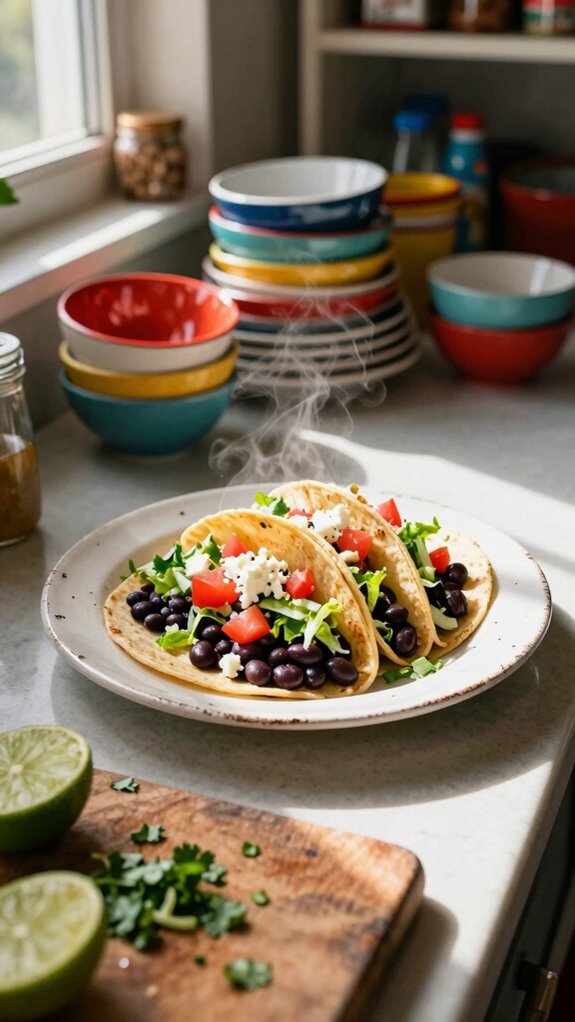
Black Bean Tacos are a quick and nutritious vegetarian dish that’s both flavorful and satisfying. They bring together seasoned black beans with fresh toppings, all wrapped in warm tortillas, making them a perfect option for a busy weeknight dinner or a casual gathering.
| Total Time | Difficulty | Number of Servings | Main Ingredient/Unique Feature |
|---|---|---|---|
| 20 minutes | Easy | 4 | Protein-packed black beans |
This easy Black Bean Tacos recipe allows you to prepare a delightful meal in just 10 minutes of preparation and another 10 minutes of cooking. It’s suitable for all cooking skill levels, making it ideal for both beginners and seasoned cooks. To ensure a smooth cooking experience, have all your ingredients prepped and ready before you begin assembling the tacos.
| Ingredients | Quantity |
|---|---|
| Black beans (canned) | 2 cans (15 oz each) |
| Olive oil | 1 tablespoon |
| Onion (chopped) | 1 medium |
| Garlic (minced) | 2 cloves |
| Cumin | 1 teaspoon |
| Chili powder | 1 teaspoon |
| Corn (frozen or canned) | 1 cup |
| Corn tortillas | 8 |
| Avocado (sliced) | 1 |
| Salsa | 1/2 cup |
| Fresh cilantro (optional) | 1/4 cup, chopped |
Feel free to customize your tacos by adding or swapping ingredients based on your preferences. You can incorporate toppings like shredded cheese, sour cream, or sliced jalapeños, and if you want a protein boost, grilled chicken or seasoned ground beef can be added alongside the black beans.
| Kitchen Tool | Purpose |
|---|---|
| Skillet | Used for sautéing onions and spices to enhance flavor. |
| Wooden spoon | Ideal for stirring and mixing ingredients without scratching the pan. |
| Knife | Essential for chopping onions, garlic, and other toppings. |
| Cutting board | Provides a safe surface for chopping vegetables. |
| Measuring cups | Used to accurately measure dry and liquid ingredients. |
| Serving plate | For presenting the assembled tacos beautifully. |
- In a skillet over medium heat, add the olive oil and heat until shimmering.
- Add the chopped onion and cook for about 3-4 minutes, until softened and translucent.
- Stir in the minced garlic, cumin, and chili powder, cooking for an additional minute until fragrant.
- Rinse and drain the black beans before adding them to the skillet, along with the corn. Stir well to combine.
- Cook the mixture for about 5 minutes, allowing the flavors to meld and the beans to heat through.
- Warm the corn tortillas in a separate skillet or microwave until pliable.
- Assemble each taco by spooning the black bean mixture onto the tortillas and topping with avocado slices, salsa, and cilantro as desired.
To serve your Black Bean Tacos in the best possible way, arrange them on a large platter. You can garnish with fresh cilantro and lime wedges, and consider adding small bowls of extra toppings like cheese, sour cream, and green onions for a fun DIY taco bar.
These Black Bean Tacos pair wonderfully with a side of Mexican-style rice or a light salad. For drinks, consider refreshing options such as homemade lemonade, iced tea, or a chilled Mexican beer to complement the vibrant flavors of the dish.
Quinoa and Spinach Salad
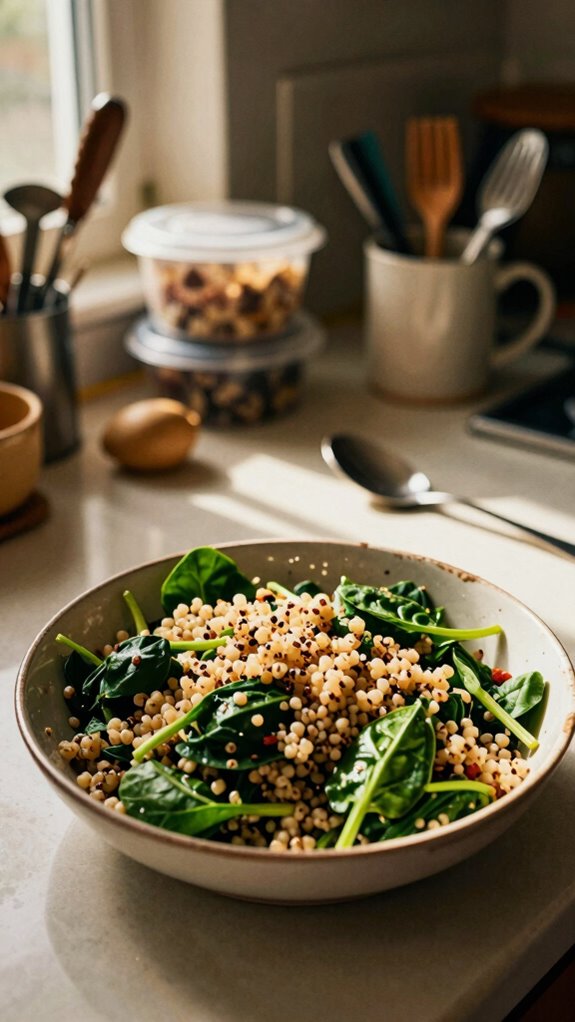
Quinoa and Spinach Salad is a refreshing and nutritious dish that’s perfect for a light dinner or a satisfying side dish. Packed with protein-rich quinoa, fresh spinach, and vibrant vegetables, this salad is not only delicious but also incredibly versatile, making it an excellent choice for any meal.
| Total Time | Difficulty | Number of Servings | Main Ingredient/Unique Feature |
|---|---|---|---|
| 25 minutes | Easy | 4 | Protein-packed quinoa |
This Quinoa and Spinach Salad can be prepared in just 10 minutes of preparation and 15 minutes of cooking. The recipe is easy and straightforward, making it suitable for both novice and experienced cooks. To ensure a seamless cooking experience, have all your ingredients prepped and ready before you start.
| Ingredients | Quantity |
|---|---|
| Quinoa | 1 cup (uncooked) |
| Spinach | 4 cups (fresh) |
| Cherry tomatoes | 1 cup (halved) |
| Cucumber | 1 (diced) |
| Red onion | 1/2 (sliced thinly) |
| Feta cheese (optional) | 1/2 cup (crumbled) |
| Olive oil | 3 tablespoons |
| Lemon juice | 2 tablespoons |
| Salt | To taste |
| Black pepper | To taste |
Feel free to customize your salad by adding or substituting ingredients based on what you have on hand. You can incorporate nuts like almonds or walnuts for added crunch, or add avocado for creaminess. If you prefer a different protein source, cooked chickpeas or grilled chicken can be excellent additions.
| Kitchen Tool | Purpose |
|---|---|
| Medium saucepan | Used for cooking quinoa until fluffy and tender. |
| Chopping board | Provides a safe surface for chopping vegetables. |
| Knife | Essential for slicing vegetables like cucumbers and onions. |
| Mixing bowl | Ideal for combining all salad ingredients together. |
| Measuring cups | Used to measure quinoa and liquids accurately. |
| Serving bowl | For presenting the salad attractively to guests. |
- Rinse the quinoa under cold water to remove any bitterness. In a medium saucepan, combine the rinsed quinoa with 2 cups of water and a pinch of salt. Bring it to a boil over high heat. Once boiling, reduce the heat to low, cover, and let it simmer for about 15 minutes, or until the water is absorbed. Remove from heat and let it sit covered for 5 minutes before fluffing with a fork.
- In a large mixing bowl, combine the spinach, cherry tomatoes, cucumber, red onion, and feta cheese (if using).
- In a small bowl, whisk together the olive oil, lemon juice, salt, and black pepper to create the dressing.
- Add the cooked quinoa to the large bowl of vegetables and gently toss to combine.
- Pour the dressing over the salad and mix well to ensure everything is evenly coated.
- Taste and adjust the seasoning if necessary.
To serve the Quinoa and Spinach Salad, transfer it to a large serving bowl or platter. Garnish with extra crumbled feta cheese and a few additional cherry tomatoes for a pop of color. Serve it at room temperature or slightly chilled for the best taste.
Pair this salad with grilled chicken or fish for a complete meal. It also works well as a side dish alongside roasted meats. For a refreshing drink, consider serving it with iced tea or a light white wine, which complements the vibrant flavors of the salad beautifully.
Baked Lemon Herb Chicken
| Total Time | Difficulty | Number of Servings | Main Ingredient/Unique Feature |
|---|---|---|---|
| 1 hour | Easy | 4 | Zesty lemon and fresh herbs |
This Baked Lemon Herb Chicken is classified as easy, taking approximately 15 minutes of preparation and 45 minutes in the oven. It’s a great option for cooks of all skill levels. To ensure a smooth cooking process, prep your ingredients ahead of time and keep an eye on the chicken towards the end of baking to ensure it is cooked through but still juicy.
| Ingredients | Quantity |
|---|---|
| Chicken breasts (boneless, skinless) | 4 pieces |
| Olive oil | 1/4 cup |
| Fresh lemon juice | 1/4 cup |
| Garlic cloves (minced) | 3 |
| Fresh parsley (chopped) | 2 tablespoons |
| Fresh thyme (chopped) | 1 tablespoon |
| Salt | To taste |
| Black pepper | To taste |
| Lemon slices (for garnish) | 1 lemon |
Feel free to customize the dish by using different herbs like rosemary, oregano, or basil as alternatives to thyme or parsley. If you enjoy a bit of spice, add red pepper flakes for heat. You can also marinate the chicken overnight for even more intense flavor.
| Kitchen Tool | Purpose |
|---|---|
| Baking dish | Used for baking the chicken evenly. |
| Mixing bowl | Ideal for marinating the chicken. |
| Measuring cups | For accurate measuring of liquids. |
| Knife | Essential for mincing garlic and herbs. |
| Meat thermometer | Ensures chicken reaches safe internal temperature. |
| Tongs | Useful for flipping or removing chicken from the baking dish. |
- Preheat your oven to 400°F (200°C).
- In a mixing bowl, whisk together olive oil, lemon juice, minced garlic, chopped parsley, chopped thyme, salt, and black pepper.
- Place the chicken breasts in a baking dish and pour the marinade over them, ensuring they are well-coated. Let the chicken marinate for at least 15 minutes (or up to overnight in the refrigerator for enhanced flavor).
- Arrange lemon slices on top of the marinated chicken.
- Bake in the preheated oven for 25-30 minutes, or until the chicken is cooked through (internal temperature should reach 165°F/75°C).
- Remove the chicken from the oven and let it rest for a few minutes before slicing.
- Serve warm, drizzled with any remaining pan juices.
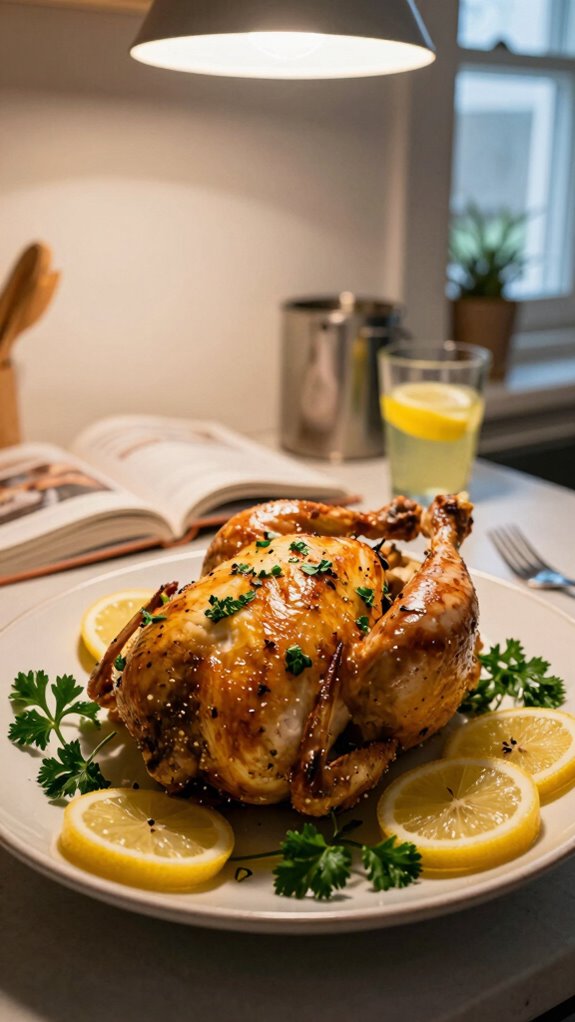
To present your Baked Lemon Herb Chicken, transfer the pieces onto a large serving platter and arrange with the lemon slices and herbs for an attractive display. You can drizzle any remaining marinade from the baking dish over the top for added flavor and shine.
This dish pairs beautifully with a crisp side salad, roasted vegetables, or creamy mashed potatoes. For drinks, consider serving it with a chilled white wine, such as Sauvignon Blanc, or a refreshing lemonade to complement the zesty flavors.
Zucchini Noodle Pasta
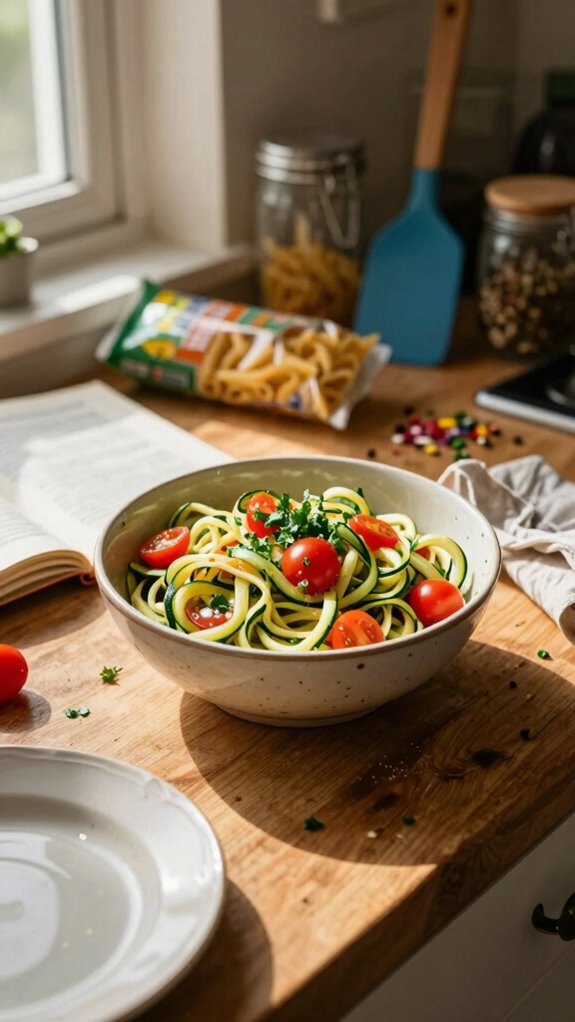
Zucchini Noodle Pasta, often referred to as “zoodles,” is a fresh, light, and healthy alternative to traditional pasta. This dish is perfect for those seeking lower-carb options while still enjoying a satisfying meal, as the spiralized zucchini mimics the texture of pasta and pairs deliciously with a variety of sauces and accompaniments.
| Total Time | Difficulty | Number of Servings | Main Ingredient/Unique Feature |
|---|---|---|---|
| 30 minutes | Easy | 4 | Spiralized zucchini as pasta substitute |
This Zucchini Noodle Pasta recipe is straightforward, making it ideal for cooks of all skill levels. Preparation takes about 10 minutes, with an additional 10-15 minutes of cooking time. To make the process smoother, spiralize the zucchini beforehand and have all your ingredients ready for a stress-free cooking experience.
| Ingredients | Quantity |
|---|---|
| Zucchini | 4 medium |
| Olive oil | 2 tablespoons |
| Garlic cloves (minced) | 3 |
| Cherry tomatoes (halved) | 1 cup |
| Fresh basil (chopped) | 1/4 cup |
| Salt | To taste |
| Black pepper | To taste |
| Grated Parmesan cheese (optional) | 1/2 cup |
Feel free to customize your zoodles by adding other vegetables like bell peppers or carrots for extra color and nutrition, or incorporating protein such as grilled chicken or shrimp. You can also experiment with different sauces, such as pesto or a light alfredo, to suit your palate.
| Kitchen Tool | Purpose |
|---|---|
| Spiralizer | Used to turn zucchini into noodles. |
| Knife | Essential for mincing garlic and cutting vegetables. |
| Cutting board | Provides a stable surface for cutting. |
| Large skillet | Ideal for sautéing the zoodles and other ingredients. |
| Measuring spoons | For accurate measurement of oil and seasonings. |
| Serving bowl | A great way to present the finished dish. |
- Begin by spiralizing the zucchini into noodle-like strands using a spiralizer. Set aside.
- In a large skillet, heat olive oil over medium heat and sauté minced garlic until fragrant, about 1 minute.
- Add the halved cherry tomatoes to the skillet, cooking for another 2-3 minutes until softened.
- Gently add the spiralized zucchini to the skillet, tossing everything together. Cook for 3-4 minutes until the zucchini is just tender but still has a slight crunch.
- Season with salt and black pepper to taste, and stir in the chopped basil just before serving.
- If desired, top with grated Parmesan cheese before removing from heat.
To present your Zucchini Noodle Pasta beautifully, transfer it to a large serving bowl and sprinkle with fresh basil and grated Parmesan on top. A drizzle of olive oil or a swirl of basil pesto can add visual appeal and flavor.
Pair this dish with a light, crisp salad for a refreshing contrast, or serve alongside grilled proteins like chicken or fish to make a complete meal. For drinks, a glass of chilled white wine, such as Sauvignon Blanc, or a refreshing sparkling water with lemon will harmonize perfectly with the vibrant flavors of this dish.
Chickpea Curry
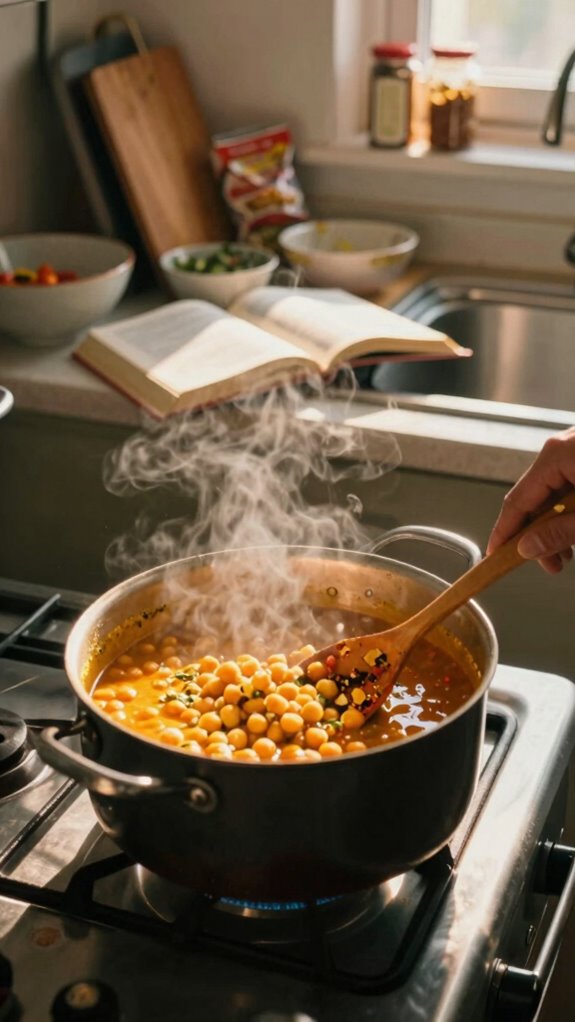
Chickpea Curry is a hearty, flavorful dish that showcases the versatility of chickpeas as they soak up aromatic spices and rich sauces. This dish is perfect for a cozy weeknight meal or meal prep, offering both comfort and nutrition in every bite. It’s packed with protein and can be made relatively quickly, making it a go-to recipe for busy home cooks.
| Total Time | Difficulty | Number of Servings | Main Ingredient/Unique Feature |
|---|---|---|---|
| 30 minutes | Easy | 4 | Chickpeas as the primary ingredient |
This Chickpea Curry recipe is simple and accessible, with a total preparation time of about 10 minutes and a cooking time of around 20 minutes. It is beginner-friendly, making it suitable for cooks of all levels. To save time, prepare your ingredients in advance. This quick curry can easily be customized based on what you have on hand.
| Ingredients | Quantity |
|---|---|
| Chickpeas (canned or cooked) | 2 cans (15 oz each) |
| Olive oil | 2 tablespoons |
| Onion (diced) | 1 medium |
| Garlic cloves (minced) | 3 |
| Ginger (grated) | 1 teaspoon |
| Canned coconut milk | 1 can (13.5 oz) |
| Curry powder | 2 tablespoons |
| Diced tomatoes (canned) | 1 can (14.5 oz) |
| Spinach (fresh or frozen) | 2 cups |
| Salt | To taste |
| Cilantro (for garnish, optional) | 1/4 cup |
Feel free to make this Chickpea Curry your own by adding various ingredients such as bell peppers, peas, or carrots for added flavor and nutrition. You can also adjust the level of spiciness by incorporating chili powder or fresh green chilies. For a creamier texture, consider adding a dollop of yogurt or a squeeze of lime before serving.
| Kitchen Tool | Purpose |
|---|---|
| Large skillet | Used to sauté vegetables and cook the curry. |
| Wooden spoon | Perfect for stirring the ingredients thoroughly. |
| Knife | Essential for dicing onion and mincing garlic. |
| Cutting board | Provides a stable surface for chopping. |
| Can opener | Needed for opening canned chickpeas and tomatoes. |
| Measuring spoons | For accurate measurement of oil and spices. |
- In a large skillet, heat the olive oil over medium heat. Add the diced onion and sauté for about 5 minutes until it becomes translucent.
- Stir in the minced garlic and grated ginger, and cook for an additional minute until fragrant.
- Add the curry powder and stir well to coat the onions, cooking for 1-2 minutes longer.
- Pour in the canned diced tomatoes (with their juices) and coconut milk, then stir to combine.
- Rinse and drain the canned chickpeas, then add them to the skillet. Stir well and bring the mixture to a simmer.
- Add the spinach and cooking until wilted, about 2-3 minutes. Taste and add salt as needed.
- Remove from heat and let it sit for a couple of minutes before serving.
To serve Chickpea Curry appealingly, ladle it into bowls and garnish with freshly chopped cilantro. Accompany the dish with a side of rice or naan bread to soak up the flavorful sauce, making it a fulfilling meal.
This delightful Chickpea Curry pairs beautifully with side dishes such as basmati rice or quinoa, complementing the rich flavors of the curry. For drinks, opt for a refreshing beverage like iced tea, a coconut-based smoothie, or a light white wine to complete the meal experience.
Sweet Potato and Kale Hash
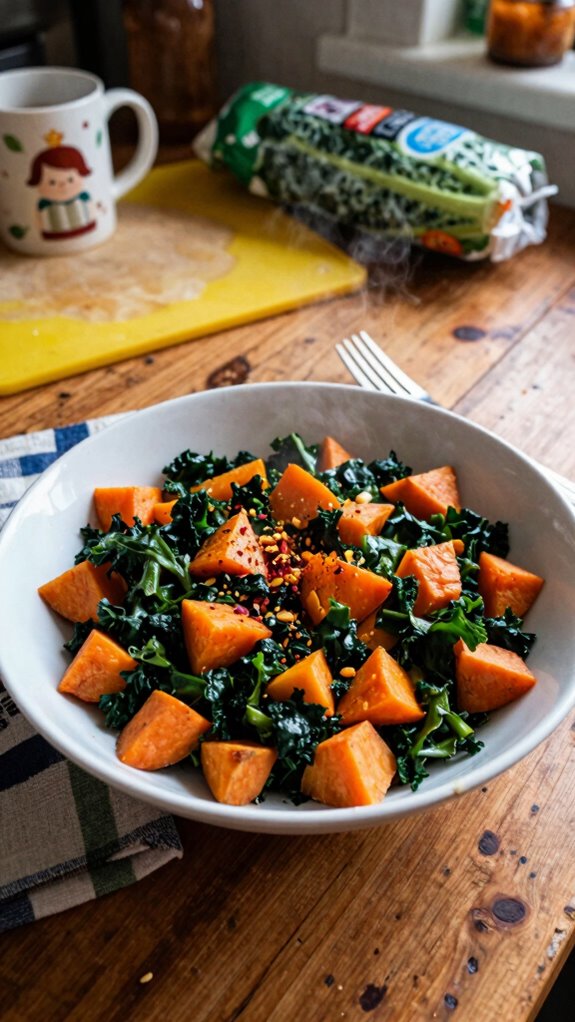
Sweet Potato and Kale Hash is a vibrant and nourishing dish that combines the hearty sweetness of roasted sweet potatoes with the earthy flavor of kale. This one-pan meal is not only quick to prepare but also makes for a wholesome breakfast or light dinner option, brimming with essential vitamins and minerals. It’s a skillet dish that is colorful, satisfying, and perfect for using up leftover vegetables!
| Total Time | Difficulty | Number of Servings | Main Ingredient/Unique Feature |
|---|---|---|---|
| 25 minutes | Easy | 4 | Sweet potatoes as the star ingredient |
This Sweet Potato and Kale Hash is straightforward to make, with a total preparation time of about 10 minutes and a cooking time of approximately 15 minutes. The dish is beginner-friendly, making it enjoyable for cooks of any experience level. To streamline the process, consider peeling and chopping the sweet potatoes in advance.
| Ingredients | Quantity |
|---|---|
| Sweet potatoes (diced) | 2 medium |
| Kale (chopped) | 2 cups |
| Olive oil | 2 tablespoons |
| Onion (diced) | 1 medium |
| Garlic (minced) | 2 cloves |
| Bell pepper (diced) | 1 medium |
| Salt | To taste |
| Black pepper | To taste |
| Smoked paprika | 1 teaspoon |
Feel free to customize this Sweet Potato and Kale Hash by adding other vegetables such as zucchini, carrots, or even some protein like cooked sausage or beans. You can also introduce different spices and herbs, such as cumin or thyme, to enhance flavors according to your preferences.
| Kitchen Tool | Purpose |
|---|---|
| Large skillet | Used to sauté all ingredients together. |
| Wooden spoon | Ideal for stirring and mixing the hash. |
| Knife | Essential for chopping vegetables. |
| Cutting board | Provides a safe surface for cutting. |
| Measuring spoons | Needed for measuring oil and spices. |
| Ladle | Helpful for serving the hash neatly. |
Cooking Steps:
- Prepare the Ingredients: Dice the sweet potatoes, onion, bell pepper, and chop the kale. Mince the garlic as well.
- Heat the Skillet: In a large skillet, heat the olive oil over medium heat.
- Cook the Aromatics: Add the diced onion and bell pepper to the skillet, sautéing for about 3-4 minutes until they are soft and fragrant.
- Add Sweet Potatoes: Add the diced sweet potatoes to the skillet and stir. Season with salt, black pepper, and smoked paprika. Cook for about 10 minutes, stirring occasionally, until the sweet potatoes are tender and slightly caramelized.
- Add Kale and Garlic: Once the sweet potatoes are nearly done, add the chopped kale and minced garlic to the skillet. Stir well to combine and cook for an additional 2-3 minutes, until the kale is wilted.
- Taste and Adjust: Taste the hash and adjust the seasoning if necessary. Remove from heat once everything is fully cooked and seasoned to your liking.
To serve the Sweet Potato and Kale Hash beautifully, spoon generous portions onto a rustic plate or bowl. You can top it with a fried or poached egg for added flavor and protein, and garnish with a sprinkle of fresh herbs like cilantro or parsley for a pop of color.
For an excellent pairing, serve the Sweet Potato and Kale Hash alongside whole-grain toast or avocado for a nutritious breakfast. For drinks, consider a refreshing smoothie or a warm cup of herbal tea to complement the dish’s earthy flavors.