When it comes to crispy chicken breast recipes, I find there’s something truly satisfying about the balance of crunch and tenderness. Each dish brings its own unique flavor combination, making it hard to choose a favorite. Whether you’re in the mood for a classic fried version or something with an unexpected twist, there’s a recipe that might just surprise you. Let’s explore these delicious options and discover which ones could become your go-to meals.
Classic Crispy Fried Chicken
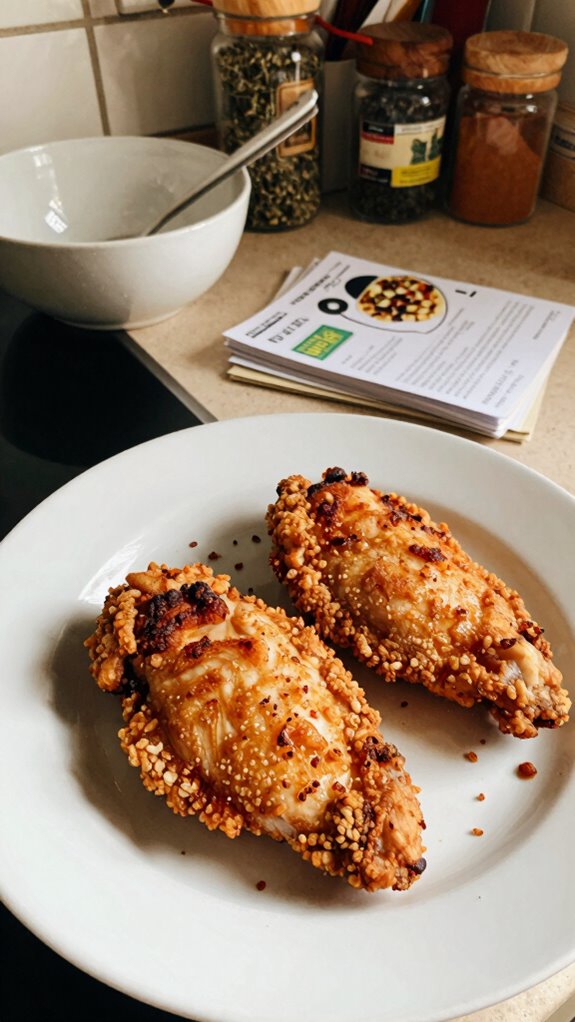
Classic Crispy Fried Chicken is a beloved dish that captures the essence of comfort food. With its golden, crunchy exterior and juicy, tender meat, this recipe holds a special place at family gatherings, picnics, or casual dinners. The combination of seasonings and the frying technique transforms chicken into an irresistible meal that delights palates of all ages.
| Total Time | Difficulty | Number of Servings | Main Ingredient/Unique Feature |
|---|---|---|---|
| 1 hour 30 mins | Medium | 4 | Buttermilk marinated chicken |
Crispy Fried Chicken is moderately easy to make and typically takes a total of 1 hour and 30 minutes, which includes 30 minutes of marinating time and about 1 hour of cooking. To achieve the perfect crisp, make sure to allow the chicken to marinate in the buttermilk for at least 30 minutes but ideally overnight. Patience is key!
| Ingredients | Quantity |
|---|---|
| Chicken (cut into pieces) | 4 pounds |
| Buttermilk | 2 cups |
| All-purpose flour | 2 cups |
| Cornstarch | 1 cup |
| Baking powder | 1 teaspoon |
| Garlic powder | 1 teaspoon |
| Onion powder | 1 teaspoon |
| Paprika | 1 teaspoon |
| Salt | 1 tablespoon |
| Black pepper | 1 teaspoon |
| Oil for frying | As needed |
For variations, consider adding your favorite seasoning blend to the flour mixture, or try using different parts of the chicken, like wings or thighs. For a spicy kick, incorporate hot sauce into the buttermilk marinade or add cayenne pepper to the flour mix.
| Kitchen Tool | Use |
|---|---|
| Large bowl | For marinating the chicken in buttermilk. |
| Whisk | To blend dry ingredients together. |
| Shallow dish | To dip chicken in the flour mixture. |
| Frying pan | For frying the chicken. |
| Slotted spoon | To remove chicken from the oil. |
| Thermometer | To check the internal temperature of the chicken. |
Cooking Instructions
- Start by placing the chicken pieces in a large bowl. Pour the buttermilk over the chicken, making sure all pieces are fully submerged. Cover and refrigerate for at least 30 minutes (or overnight for best results).
- In a shallow dish, mix the flour, cornstarch, baking powder, garlic powder, onion powder, paprika, salt, and black pepper thoroughly using a whisk.
- Heat the oil in a frying pan over medium-high heat until it reaches 350°F (175°C).
- Remove chicken from the buttermilk, allowing excess to drip off, and dredge each piece in the seasoned flour mixture. Ensure that the chicken is evenly coated.
- Carefully place coated chicken pieces into the hot oil without overcrowding the pan. Fry in batches if necessary.
- Cook for about 12-15 minutes on each side, or until the chicken is golden brown and fully cooked (internal temperature should reach 165°F or 75°C).
- Once cooked, transfer the chicken to a paper towel-lined plate to drain excess oil. Allow it to rest for a few minutes before serving.
To serve and present your Classic Crispy Fried Chicken, arrange the golden pieces on a large platter, garnished with fresh herbs or lemon wedges for a pop of color. For extra appeal, consider wrapping a few drumsticks in parchment paper or brown paper bags.
Pair this delicious fried chicken with sides like coleslaw, mashed potatoes, or cornbread for a classic Southern meal. Enjoy with refreshing drinks such as sweet tea, lemonade, or an ice-cold beer to complement the flavors perfectly.
Parmesan Crusted Chicken Breasts
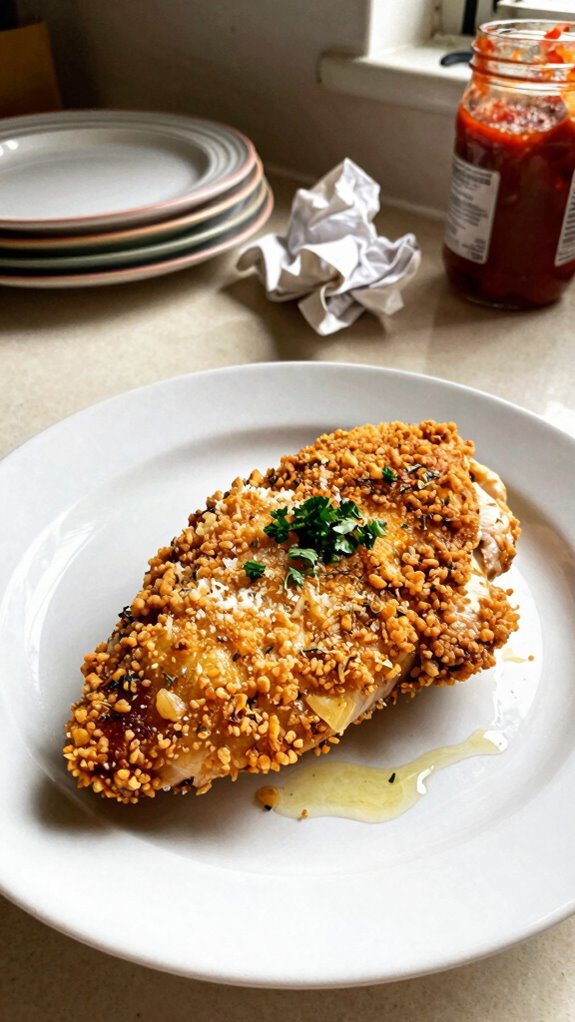
Parmesan Crusted Chicken Breasts are a delightful twist on a classic chicken dish. With a golden, cheesy coating that provides a satisfying crunch, this recipe transforms ordinary chicken breasts into a flavorful, restaurant-worthy meal. It’s perfect for weeknight dinners or when you want to impress guests with minimal effort.
| Total Time | Difficulty | Number of Servings | Main Ingredient/Unique Feature |
|---|---|---|---|
| 30 mins | Easy | 4 | Crispy cheese crust |
This dish is easy to prepare, requiring just 30 minutes from start to finish. The cooking time is around 20 minutes after a quick preparation. Ensure the chicken is pounded to an even thickness for consistent cooking and optimal tenderness. A quick broil at the end adds an extra crunch to the cheese crust.
| Ingredients | Quantity |
|---|---|
| Chicken breasts | 4 (6-ounce) |
| Parmesan cheese | 1 cup (grated) |
| Breadcrumbs | 1 cup |
| Garlic powder | 1 teaspoon |
| Italian seasoning | 1 teaspoon |
| Salt | ½ teaspoon |
| Black pepper | ½ teaspoon |
| Egg | 1 large |
| Olive oil | 2 tablespoons |
For variations, feel free to mix different types of cheese with the parmesan for an added depth of flavor. Cheddar or mozzarella can work well too. You can also use gluten-free breadcrumbs for a gluten-free option, or add herbs like thyme or oregano to the breadcrumb mixture for an aromatic touch.
| Kitchen Tool | Use |
|---|---|
| Meat mallet | To pound chicken breasts evenly. |
| Shallow dish | For egg wash and breading. |
| Oven-safe skillet | To bake and cook the chicken. |
| Mixing bowl | For combining cheese and breadcrumbs. |
| Spoon | To coat chicken with the mixture. |
| Meat thermometer | To ensure chicken is thoroughly cooked. |
Cooking Instructions
- Preheat your oven to 400°F (200°C) and prepare a baking sheet lined with parchment paper.
- Pound the chicken breasts to an even thickness of about ½ inch using a meat mallet. This ensures even cooking and tenderness.
- In a shallow dish, whisk the egg until fully beaten. In another mixing bowl, combine the grated parmesan, breadcrumbs, garlic powder, Italian seasoning, salt, and black pepper.
- Dip each chicken breast in the egg wash, allowing excess to drip off, then coat thoroughly in the parmesan breadcrumb mixture, pressing the mixture onto the chicken to ensure it adheres well.
- Place the coated chicken breasts on the prepared baking sheet. Drizzle olive oil over each piece to encourage a golden crust.
- Bake in the preheated oven for 20 minutes, or until the chicken is cooked through and the coating is crispy. An internal temperature of 165°F (74°C) is recommended.
- For extra crunch, switch the oven to broil for the last 2-3 minutes, watching closely to avoid burning.
- Remove from the oven and let rest for a few minutes before serving.
To present the dish beautifully, serve the parmesan crusted chicken on a clean plate, garnished with fresh chopped parsley or basil for a pop of color. Pair it with a wedge of lemon on the side for a citrusy zing that complements the crispy crust.
This dish pairs well with a variety of sides, such as roasted vegetables, garlic mashed potatoes, or a simple green salad. For beverages, a crisp white wine like Sauvignon Blanc or a refreshing iced tea would complement the flavors perfectly, enhancing the dining experience.
Honey Garlic Crispy Chicken
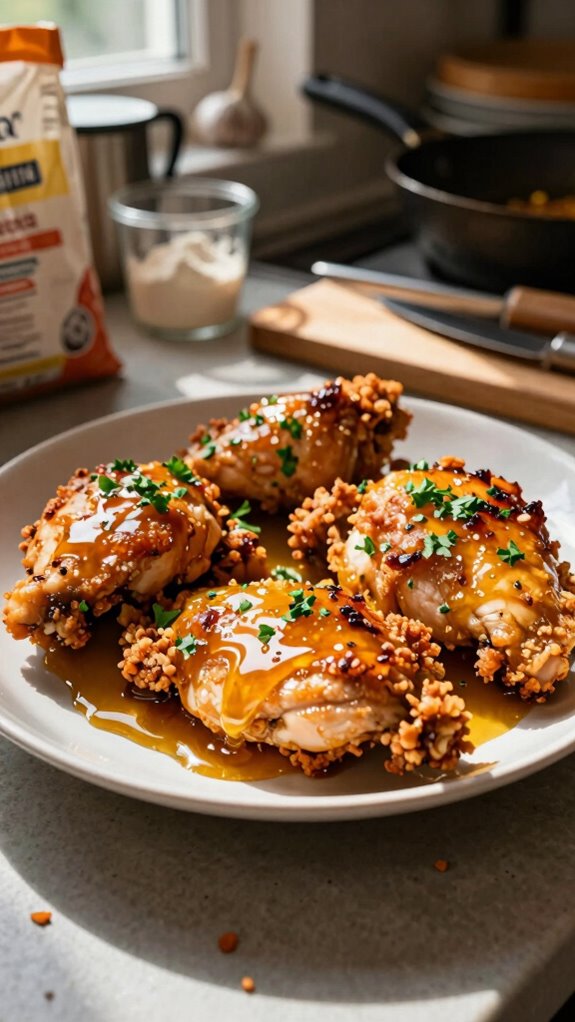
Honey Garlic Crispy Chicken is a deliciously sweet and savory dish that combines perfectly crispy chicken with a sticky honey garlic glaze. This dish is ideal for family dinners or gatherings, offering an enticing flavor that will surely please everyone at the table.
| Total Time | Difficulty | Number of Servings | Main Ingredient/Unique Feature |
|---|---|---|---|
| 40 mins | Medium | 4 | Sweet and savory honey garlic sauce |
This recipe takes about 40 minutes to prepare, with approximately 15 minutes of prep time and 25 minutes of cooking time. Although it falls under the medium difficulty category due to the frying process, it is manageable even for novice cooks. For the crispiest results, make sure to coat the chicken strips in the breading mixture thoroughly. A hint: allow the chicken to rest for a few minutes after frying to achieve the maximum crunchiness.
| Ingredients | Quantity |
|---|---|
| Chicken breasts | 2 (1 pound), cut into strips |
| All-purpose flour | ½ cup |
| Cornstarch | ¼ cup |
| Eggs | 2 large, beaten |
| Panko breadcrumbs | 1 cup |
| Garlic, minced | 4 cloves |
| Honey | ½ cup |
| Soy sauce | ¼ cup |
| Sesame oil | 1 tablespoon |
| Green onions, chopped | For garnish |
| Salt | To taste |
| Pepper | To taste |
For variations, consider using gluten-free flour and breadcrumbs for a gluten-free option. You could also substitute the honey with maple syrup for a different flavor twist, or add crushed red pepper flakes for a spicy kick. Experimenting with different herbs and spices in the breading can also create different flavor profiles.
| Kitchen Tool | Use |
|---|---|
| Meat cutter | To cut chicken breasts into strips. |
| Shallow dishes | For setting up a breading station (flour, eggs, breadcrumbs). |
| Frying pan or deep skillet | For frying the chicken until crispy. |
| Mixing bowl | For combining the glaze ingredients. |
| Tongs | For handling the chicken during frying. |
| Serving platter | To present the finished dish beautifully. |
Cooking Instructions
- Begin by cutting the chicken breasts into strips and set aside.
- In a shallow dish, combine the all-purpose flour, cornstarch, salt, and pepper. In another shallow dish, place the beaten eggs. In a third dish, put the panko breadcrumbs.
- Dip each chicken strip first in the flour mixture, then in the beaten eggs, and finally in the panko breadcrumbs, ensuring they are well-coated.
- Heat oil in a frying pan over medium-high heat. Once the oil is hot, carefully place the breaded chicken strips in the pan, being careful not to overcrowd.
- Fry the chicken for about 5-7 minutes on each side or until golden brown and cooked through. Remove and place on paper towels to drain excess oil.
- In a separate mixing bowl, combine minced garlic, honey, soy sauce, and sesame oil. Stir until smooth.
- In a large pan over medium heat, add the honey garlic mixture and bring it to a simmer. Add the crispy chicken strips to the pan and toss to coat them evenly in the glaze.
- Remove from heat and garnish with chopped green onions before serving.
To serve Honey Garlic Crispy Chicken, arrange the glazed chicken strips on a large serving platter. Drizzle any remaining sauce over the chicken and garnish with additional chopped green onions for a refreshing touch. Serve immediately to ensure maximum crispiness.
For the perfect pairing, serve this dish with fluffy jasmine rice or steamed vegetables to balance out the flavors. A light cucumber salad can also provide a refreshing counterpoint. For drinks, consider pairing with a chilled white wine, such as Sauvignon Blanc, or refreshing iced tea with lemon to complement the sweet and savory notes of the chicken.
Spicy Crispy Chicken Tenders
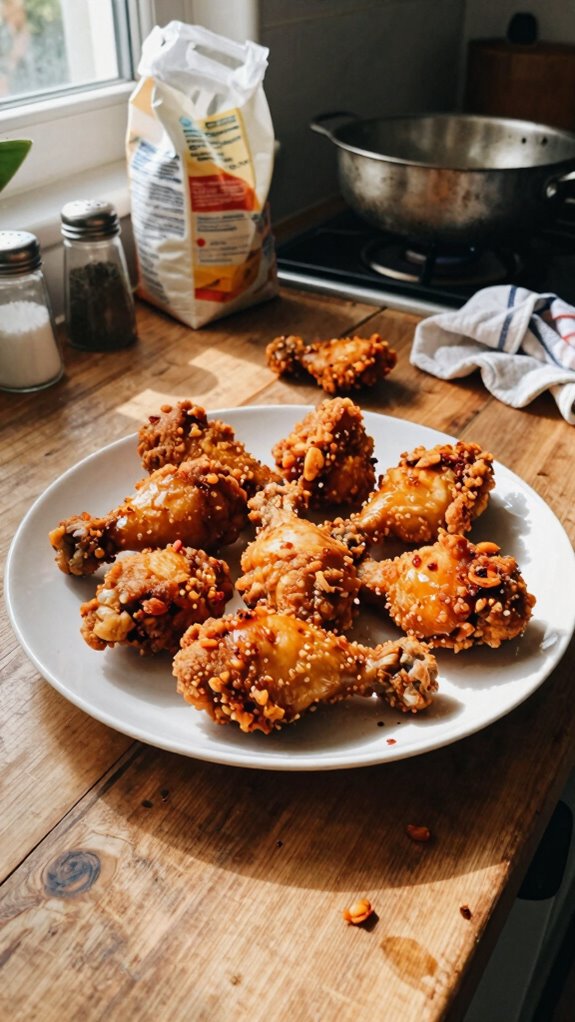
Spicy Crispy Chicken Tenders are a delectable twist on the classic chicken tender, featuring a spicy breading that delivers a flavorful kick. Perfect as an appetizer, main dish, or party snack, these tenders are crispy on the outside with juicy, tender chicken on the inside, making them a sure hit for any occasion.
| Total Time | Difficulty | Number of Servings | Main Ingredient/Unique Feature |
|---|---|---|---|
| 35 mins | Medium | 4 | Spicy seasoning in the breading |
This recipe can be completed in approximately 35 minutes, including 15 minutes of prep time and 20 minutes of cooking time. The difficulty level is medium, as it involves frying the chicken, but with careful attention to timing, even beginners can achieve great results. For the crispiest tenders, ensure the oil is hot enough before frying and allow the chicken to rest briefly after cooking.
| Ingredients | Quantity |
|---|---|
| Chicken tenders | 1 pound |
| All-purpose flour | ½ cup |
| Cornstarch | ¼ cup |
| Eggs | 2 large, beaten |
| Panko breadcrumbs | 1 cup |
| Cayenne pepper | 1 teaspoon |
| Paprika | 1 teaspoon |
| Garlic powder | ½ teaspoon |
| Onion powder | ½ teaspoon |
| Salt | To taste |
| Black pepper | To taste |
| Oil for frying | As needed |
For variations, feel free to adjust the level of spiciness by increasing or decreasing the amount of cayenne pepper, or switch out for hot sauce in the egg wash for an alternative kick. You can also experiment with different spices such as smoked paprika or adding Parmesan cheese to the breadcrumb mixture for added flavor.
| Kitchen Tool | Use |
|---|---|
| Meat cutter | To cut chicken tenders into preferred sizes, if necessary. |
| Shallow dishes | For setting up a breading station (flour, eggs, breadcrumbs). |
| Frying pan or deep skillet | For frying the chicken until crispy |
| Mixing bowl | For combining the dry ingredients and mixing the eggs. |
| Tongs | For handling the chicken during frying. |
| Serving platter | To display and serve the crispy chicken tenders. |
Cooking Steps:
- Begin by preparing your chicken tenders. If they’re not already cut, slice the chicken breasts into strips.
- Set up a breading station with three shallow dishes: one with seasoned flour (flour, cayenne pepper, paprika, garlic powder, onion powder, salt, and pepper), one with the beaten eggs, and one with panko breadcrumbs.
- Heat oil in your frying pan or deep skillet over medium-high heat (around 350°F).
- Dredge each chicken tender in the flour mixture, shaking off excess. Then dip into the beaten eggs, and finally coat with the panko breadcrumbs, pressing gently to adhere.
- Once the oil is hot, fry the chicken tenders in batches for about 3-4 minutes on each side, or until golden brown and fully cooked. Use tongs to turn them as needed.
- Transfer the cooked tenders to a paper towel-lined plate to absorb excess oil and sprinkle a pinch of salt while hot.
- Allow the tenders to rest for a few minutes before serving.
To serve Spicy Crispy Chicken Tenders, arrange them nicely on a serving platter and consider garnishing with chopped parsley or green onions for a pop of color. Pair them with your favorite dipping sauces such as ranch, honey mustard, or barbecue sauce to enhance the flavor and provide a variety of options for your guests.
These tenders pair wonderfully with sides like coleslaw, sweet potato fries, or a fresh garden salad. To complement your meal, consider serving refreshing beverages such as iced tea, lemonade, or for an adult option, a cold beer or a zesty margarita.
Pesto Chicken Breast With a Crunch
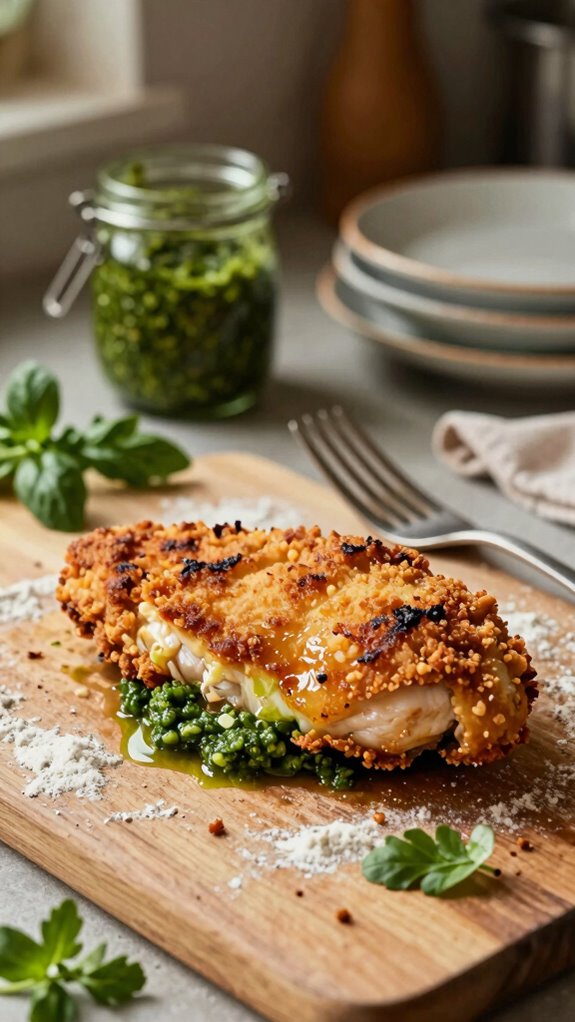
Pesto Chicken Breast With a Crunch is a flavorful and satisfying dish that pairs juicy chicken breasts with a delicious pesto coating, complemented by a crispy breadcrumb topping. This dish brings together fresh basil flavor from the pesto and the satisfying crunch from the coating, making it perfect for a family dinner or a casual gathering.
| Total Time | Difficulty | Number of Servings | Main Ingredient/Unique Feature |
|---|---|---|---|
| 40 mins | Medium | 4 | Pesto and crispy breadcrumb topping |
This dish has a medium difficulty level, which involves preparing the chicken, making the pesto, and achieving the perfect crunch with the breadcrumbs. The total preparation time is about 15 minutes, and cooking time is around 25 minutes. To ensure that the chicken is perfectly cooked, it is advisable to use a meat thermometer to check for an internal temperature of 165°F before serving.
| Ingredients | Quantity |
|---|---|
| Chicken breasts | 4, boneless and skinless |
| Pesto sauce | ½ cup |
| All-purpose flour | ½ cup |
| Eggs | 2 large, beaten |
| Panko breadcrumbs | 1 cup |
| Salt | To taste |
| Black pepper | To taste |
| Olive oil | For drizzling |
For variations, you can use different types of pesto, such as sun-dried tomato pesto or arugula pesto, to give the dish a unique flavor. Additionally, consider adding grated Parmesan cheese to the breadcrumb mixture for an extra burst of flavor, or use whole wheat breadcrumbs for a healthier alternative.
| Kitchen Tool | Use |
|---|---|
| Meat thermometer | To check chicken’s internal temperature for doneness. |
| Shallow dishes | To set up a breading station (flour, eggs, breadcrumbs). |
| Baking sheet | For roasting the chicken in the oven. |
| Mixing bowl | For combining the wet and dry ingredients. |
| Whisk | To beat the eggs evenly for coating. |
| Spoon | To spread the pesto evenly on the chicken. |
Cooking Steps Instructions:
- Preheat your oven to 375°F (190°C).
- Prepare a baking sheet by lining it with parchment paper or lightly greasing it.
- Set up a breading station: Place flour in a shallow dish, beaten eggs in another, and panko breadcrumbs in a third dish.
- Season both sides of the chicken breasts with salt and black pepper.
- Dip each chicken breast into the flour, coating evenly, and shake off any excess.
- Next, dip the floured chicken in the beaten eggs, ensuring it’s fully coated.
- Finally, press the chicken into the panko breadcrumbs, coating all sides for a crunchy texture.
- Place the coated chicken breasts on the prepared baking sheet.
- Drizzle a little olive oil on top of the chicken to enhance browning.
- Bake in the preheated oven for about 25 minutes, or until the chicken is cooked through and the coating is golden brown.
- In the final 5 minutes of cooking, spread the pesto over the chicken breasts and return to the oven for extra flavor infusion.
To present the Pesto Chicken Breast With a Crunch at its best, arrange the chicken breasts on a serving platter and garnish with freshly grated Parmesan cheese and a sprinkle of fresh basil leaves. Serve alongside a vibrant salad or roasted vegetables for a colorful plate.
This dish pairs beautifully with light sides, such as a mixed green salad or a quinoa pilaf, as well as a glass of crisp white wine like Sauvignon Blanc or a refreshing sparkling lemonade for non-alcoholic options. For an extra touch, consider serving it with a side of garlic bread for a complete Mediterranean dining experience.
Korean Fried Chicken
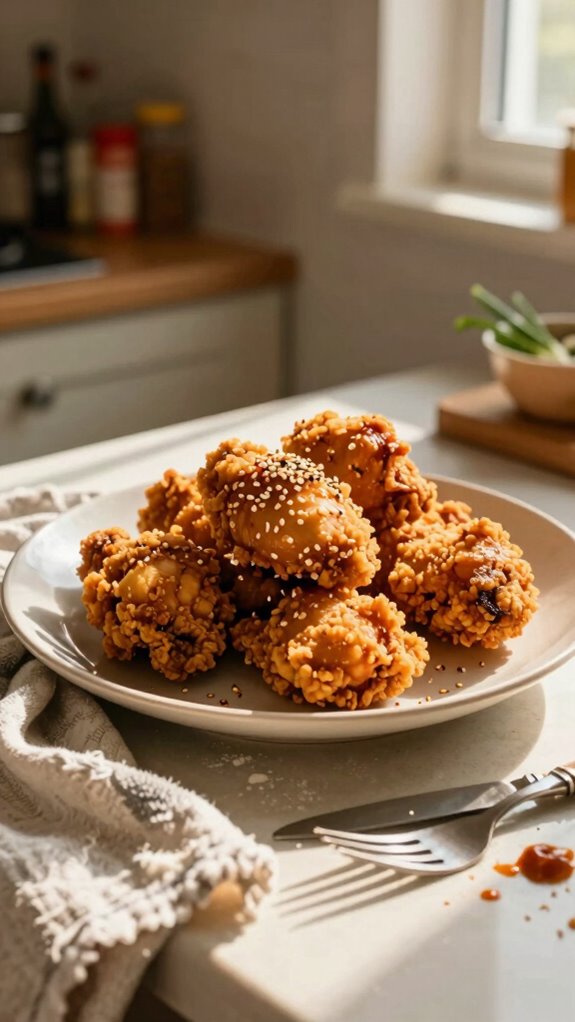
Korean Fried Chicken is a beloved dish known for its crispy coating, tender meat, and unique flavor profile, heavily influenced by Korean spices and sauces. This dish often features a double-frying technique, which creates a crunchier exterior, and is typically coated in a flavorful sauce, such as a spicy gochujang glaze. It’s perfect for a gathering or a cozy dinner at home, served with sides and drinks that complement its bold taste.
| Total Time | Difficulty | Number of Servings | Main Ingredient/Unique Feature |
|---|---|---|---|
| 1 hour | Hard | 4 | Double-fried with spicy glaze |
The difficulty level of this dish is considered hard due to the double-frying technique required to achieve the perfect crunch. The total preparation time is around 20 minutes, with a cooking time of approximately 40 minutes. It is advisable to have a thermometer handy to ensure the oil is at the right temperature (around 350°F or 175°C) for frying, and to achieve an internal chicken temperature of 165°F for doneness.
| Ingredients | Quantity |
|---|---|
| Chicken wings | 2 pounds |
| All-purpose flour | 1 cup |
| Cornstarch | ½ cup |
| Baking powder | 1 teaspoon |
| Salt | 1 teaspoon |
| Black pepper | ½ teaspoon |
| Gochujang (Korean chili paste) | ¼ cup |
| Soy sauce | 3 tablespoons |
| Honey | 2 tablespoons |
| Sesame oil | 1 tablespoon |
| Garlic, minced | 2 cloves |
| Green onions, chopped | For garnish (optional) |
For variations, you can experiment with different sauces such as a garlic soy sauce or a sweet chili sauce instead of the traditional gochujang glaze. Additionally, to suit dietary preferences, you can opt for baking or air-frying the chicken instead of deep-frying, although the crunch may differ.
| Kitchen Tool | Use |
|---|---|
| Deep fryer or heavy pot | For frying chicken at the right temperature. |
| Cooking thermometer | To check oil temperature during frying. |
| Mixing bowls | For preparing the flour mixture and sauce. |
| Whisk | To mix the batter and coat the chicken evenly. |
| Slotted spoon | To remove chicken from oil and drain excess. |
| Baking sheet | To keep prepared chicken before frying. |
Cooking Steps Instructions:
- Rinse and pat dry the chicken wings thoroughly.
- In a large mixing bowl, combine the all-purpose flour, cornstarch, baking powder, salt, and black pepper.
- Dredge the chicken wings in the flour mixture, ensuring they are well coated.
- Heat oil in a deep fryer or heavy pot to 350°F (175°C).
- Carefully add the coated chicken wings in batches to the hot oil and fry for about 8-10 minutes until they are golden brown and cooked through.
- Remove the chicken and place onto a baking sheet lined with paper towels to drain excess oil.
- Once all chicken is fried, return the wings to the hot oil for an additional 4-5 minutes for the second fry to increase crispiness.
- Meanwhile, in a separate bowl, whisk together the gochujang, soy sauce, honey, sesame oil, and minced garlic to create the sauce.
- After the second fry, toss the hot wings in the sauce until well coated.
To serve Korean Fried Chicken, arrange the crispy wings on a platter and drizzle any remaining sauce over them. Garnish with chopped green onions for vibrant color and added flavor. Serve with toothpicks for easy eating and enjoy the crunch!
Pair this dish with a refreshing cucumber salad or pickled radishes to balance the richness. Perfect beverages to complement Korean Fried Chicken include cold beer, especially Korean lagers, or a sweet and tangy Korean rice wine called Makgeolli.
Crispy Lemon Herb Chicken
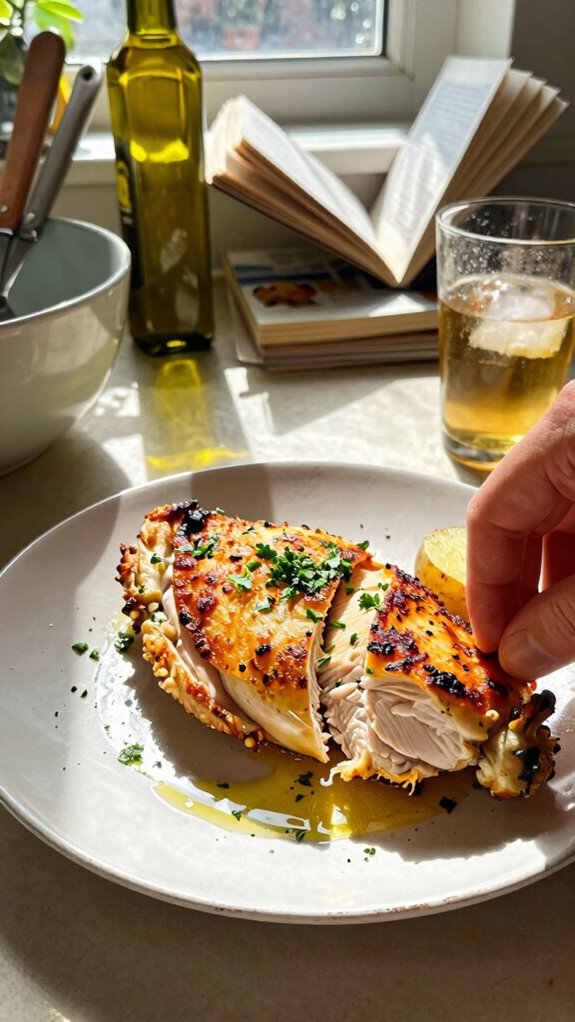
Crispy Lemon Herb Chicken is a flavorful and juicy dish that showcases a delightful combination of zesty lemon and aromatic herbs. Perfect for a weeknight meal or a special occasion, this recipe delivers a satisfying crunch on the outside while keeping the chicken tender and juicy on the inside. With a simple breading technique and a burst of fresh flavors, this dish will soon become a favorite in your cooking repertoire.
| Total Time | Difficulty | Number of Servings | Main Ingredient/Unique Feature |
|---|---|---|---|
| 45 minutes | Easy | 4 | Crispy coating with lemon and herbs |
The difficulty level of this dish is considered easy, making it accessible for cooks of any skill level. The total preparation time is about 15 minutes, with a cooking time of around 30 minutes. For best results, use a meat thermometer to ensure the chicken reaches an internal temperature of 165°F, ensuring both safety and juiciness.
| Ingredients | Quantity |
|---|---|
| Chicken breasts | 4 pieces |
| All-purpose flour | 1 cup |
| Cornmeal | ½ cup |
| Garlic powder | 1 teaspoon |
| Dried oregano | 1 teaspoon |
| Dried thyme | 1 teaspoon |
| Salt | 1 teaspoon |
| Black pepper | ½ teaspoon |
| Lemon zest | 1 tablespoon |
| Egg | 1 large |
| Lemon juice | 2 tablespoons |
| Olive oil | 3 tablespoons |
For variations, consider adding other herbs such as basil or parsley for a different flavor profile. You can also substitute the chicken breasts with thighs for a juicier option, or add grated Parmesan cheese to the breading mix for extra richness.
| Kitchen Tool | Use |
|---|---|
| Baking sheet | For placing the chicken while baking. |
| Parchment paper | To line the baking sheet for easy cleanup. |
| Mixing bowls | For preparing the breading and egg mixture. |
| Whisk | To beat the egg and combine breading ingredients. |
| Meat thermometer | To check the internal temperature of the chicken. |
| Tongs | For flipping and removing the chicken from the baking sheet. |
Cooking Steps:
- Preheat your oven to 400°F (200°C) and line a baking sheet with parchment paper.
- In a mixing bowl, combine the flour, cornmeal, garlic powder, oregano, thyme, salt, pepper, and lemon zest to create the breading mixture.
- In another bowl, beat the egg with the lemon juice until well combined.
- Dip each chicken breast in the egg mixture, allowing the excess to drip off, then coat it in the breading mixture, pressing lightly to help it adhere.
- Place the breaded chicken breasts on the prepared baking sheet and drizzle with olive oil.
- Bake in the preheated oven for 25-30 minutes, or until the chicken is golden brown and reaches an internal temperature of 165°F.
- Once cooked, let the chicken rest for a few minutes before slicing to serve.
To serve and present the dish beautifully, arrange the crispy lemon herb chicken on a large platter. Garnish with fresh parsley or lemon slices to add a vibrant touch. Serving with a side of roasted vegetables or a fresh green salad can enhance the colors and freshness of the meal.
Pair this dish with light sides such as a couscous salad or garlic mashed potatoes for a wholesome meal. For drinks, consider a chilled glass of white wine, such as a Sauvignon Blanc, or a refreshing iced tea with lemon, which complements the zesty flavors of the chicken beautifully.