I often find myself looking for quick yet satisfying dinner ideas, especially when it comes to thinly sliced chicken breast. It’s versatile and can be transformed into a variety of dishes that suit different cravings. From a zesty stir-fry to comforting sliders, there’s something for everyone. If you’re curious about how to elevate your weeknight meals with these recipes, keep going—you may discover just the right dish for your next dinner.
Lemon Garlic Chicken Stir-Fry
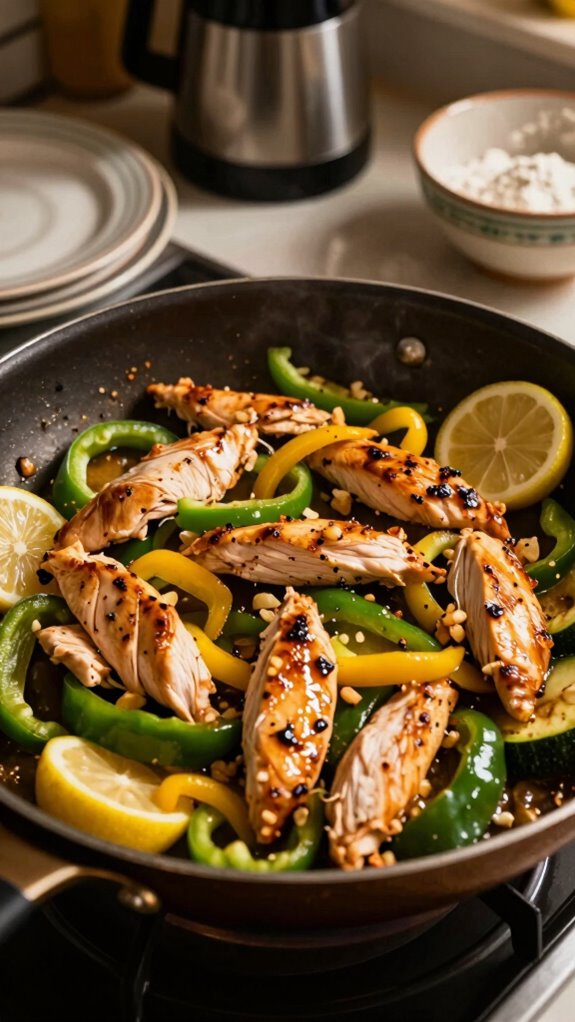
Lemon Garlic Chicken Stir-Fry is a vibrant and flavorful dish that combines tender chicken breasts with a punchy lemon and garlic sauce, all tossed together with colorful vegetables. This quick and easy recipe is perfect for busy weeknights, offering a satisfying meal in under 30 minutes that is as delicious as it is nutritious.
| Total Time | Difficulty | Number of Servings | Main Ingredient |
|---|---|---|---|
| 30 minutes | Easy | 4 | Chicken Breast |
This Lemon Garlic Chicken Stir-Fry is quite simple to prepare, making it suitable for cooks of any level. With a total preparation time of 10 minutes and a cooking time of just 20 minutes, you’ll have a delightful dinner ready in no time. For best results, ensure that all ingredients are prepped in advance, and consider marinating the chicken for extra flavor.
| Ingredients | Quantity |
|---|---|
| Chicken breasts | 1.5 lbs (680g) |
| Broccoli florets | 2 cups |
| Bell pepper | 1 (sliced) |
| Carrot | 1 (sliced) |
| Garlic cloves | 3 (minced) |
| Olive oil | 2 tablespoons |
| Lemon juice | 3 tablespoons |
| Soy sauce | 2 tablespoons |
| Salt | to taste |
| Pepper | to taste |
| Fresh parsley (for garnish) | Optional |
Variations of this recipe can include substituting chicken with shrimp, tofu, or beef, and you can swap in your favorite vegetables, such as snap peas, zucchini, or snow peas, to customize the dish to your taste preferences.
| Kitchen Tool | Purpose in Recipe |
|---|---|
| Wok or Skillet | For stir-frying the chicken and vegetables |
| Cutting Board | To prepare the ingredients by chopping and slicing |
| Chef’s Knife | For cutting chicken and vegetables |
| Measuring Spoons | To measure sauces and seasonings |
| Wooden Spoon | For stirring ingredients during cooking |
| Serving Plate | To present the finished dish attractively |
Cooking Steps
- Begin by cutting the chicken breasts into bite-sized pieces and placing them in a bowl.
- Add minced garlic, lemon juice, soy sauce, salt, and pepper to the chicken. Mix well and let marinate for at least 10 minutes.
- While chicken is marinating, wash and chop the broccoli, bell pepper, and carrot.
- Heat olive oil in a wok or skillet over medium-high heat.
- Once hot, add the marinated chicken to the pan and stir-fry for about 5-7 minutes or until the chicken is cooked through and no longer pink.
- Add the chopped vegetables to the chicken in the pan and stir-fry for an additional 5 minutes, or until the vegetables are tender-crisp.
- Taste and adjust seasoning if necessary, then remove from heat.
- Transfer to a serving plate and garnish with fresh parsley if desired.
To serve Lemon Garlic Chicken Stir-Fry in the best possible way, consider arranging the stir-fry on a large platter with a sprinkle of fresh parsley on top. This not only enhances the visual appeal but also adds a pop of color to the dish.
This dish pairs beautifully with steamed jasmine rice or quinoa to soak up the flavorful sauce. For drinks, a crisp white wine such as Sauvignon Blanc or a refreshing homemade lemonade complements the lemony flavor of the dish deliciously.
Chicken Fajita Tacos
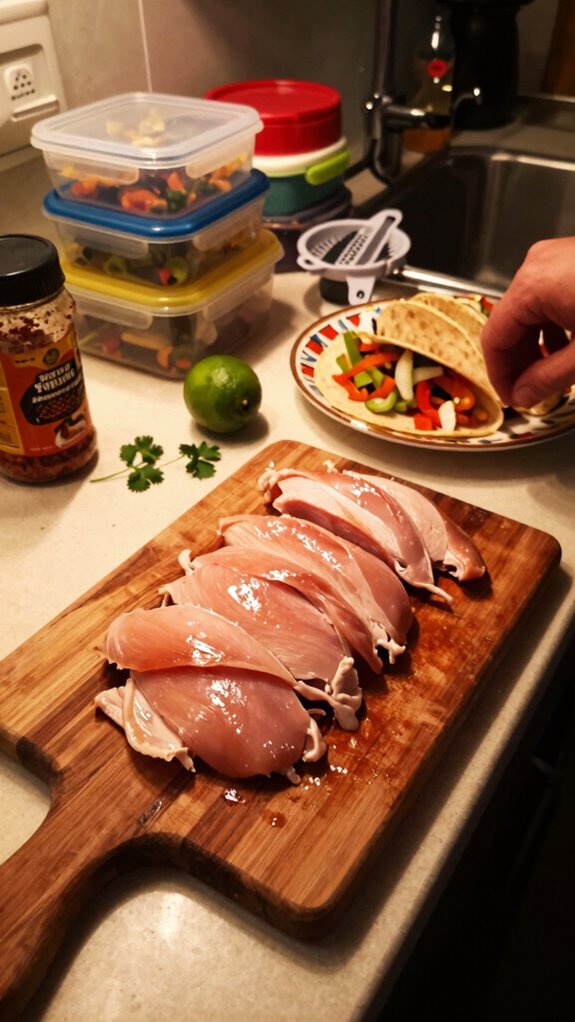
Chicken Fajita Tacos are a delicious and colorful Mexican-inspired dish that combines seasoned chicken with vibrant bell peppers and onions, all wrapped in warm tortillas. This recipe is perfect for gatherings or family dinners, offering a hearty meal that can be enjoyed by everyone.
| Total Time | Difficulty | Number of Servings | Main Ingredient |
|---|---|---|---|
| 40 minutes | Easy | 4 | Chicken Breast |
This Chicken Fajita Tacos recipe is simple to prepare, making it accessible for cooks of all skill levels. The total preparation time is approximately 15 minutes, followed by a cooking time of just 25 minutes. For added flavor, consider marinating the chicken for a few hours beforehand or overnight.
| Ingredients | Quantity |
|---|---|
| Chicken breasts | 1.5 lbs (680g) |
| Bell peppers (mixed colors) | 2 (sliced) |
| Onion | 1 (sliced) |
| Fajita seasoning | 2 tablespoons |
| Olive oil | 2 tablespoons |
| Tortillas | 8 (flour or corn) |
| Lime | 1 (cut into wedges) |
| Fresh cilantro (for garnish) | Optional |
| Salt | to taste |
| Pepper | to taste |
Variations of this recipe can include swapping out chicken for steak, shrimp, or even a plant-based protein such as jackfruit or tempeh. Additionally, feel free to adjust the vegetables according to your preferences by including options like zucchini, corn, or mushrooms.
| Kitchen Tool | Purpose in Recipe |
|---|---|
| Skillet or Cast Iron Pan | For cooking the chicken and vegetables |
| Cutting Board | To prepare all the ingredients |
| Chef’s Knife | For slicing vegetables and chicken |
| Measuring Spoons | To measure spices and oil |
| Tongs | For flipping and serving the cooked chicken |
| Serving Platter | To present the tacos attractively |
Cooking Steps
- Begin by slicing the chicken breasts into thin strips.
- In a bowl, combine the chicken strips with fajita seasoning, olive oil, salt, and pepper. Mix well to coat the chicken evenly.
- Heat a skillet or cast iron pan over medium-high heat.
- Once hot, add the seasoned chicken to the skillet and cook for about 5-7 minutes, until the chicken is cooked through and browned. Remove from the skillet and set aside.
- In the same skillet, add the sliced bell peppers and onion. Sauté for about 3-4 minutes until they are tender but still slightly crisp.
- Return the cooked chicken to the skillet with the vegetables and stir to combine. Cook for an additional 2 minutes.
- Warm the tortillas in a separate pan or microwave until pliable.
- Assemble the tacos by placing the chicken and vegetable mixture in the center of each tortilla, garnishing with fresh cilantro and a squeeze of lime juice if desired.
To serve Chicken Fajita Tacos in the best possible way, arrange them neatly on a serving platter, providing lime wedges on the side for extra zest. You can also offer a selection of toppings such as shredded cheese, sour cream, or guacamole for added flavor and personalization.
For a complete meal, consider pairing these tacos with sides like Mexican rice or refried beans. To complement the flavors of the dish, serve with a refreshing drink such as a classic margarita, a cold cerveza, or a light, citrusy soda.
Caprese Chicken Salad
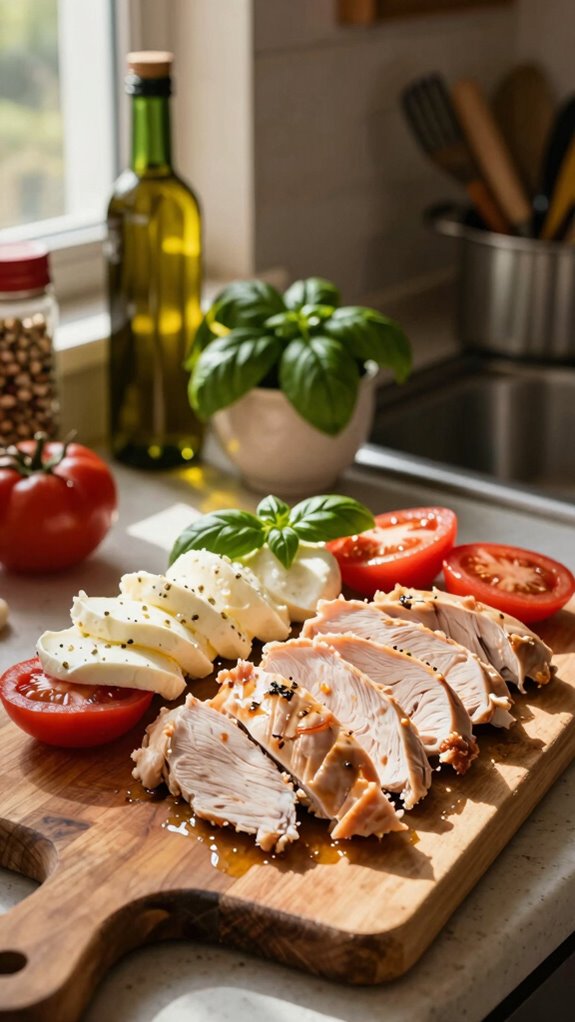
Caprese Chicken Salad is a refreshing and nutritious dish that beautifully combines grilled chicken breast, fresh mozzarella, ripe tomatoes, and fragrant basil drizzled with a balsamic glaze. This salad is perfect for a light lunch or dinner, offering a burst of flavors and colors that will delight your palate.
| Total Time | Difficulty | Number of Servings | Main Ingredient |
|---|---|---|---|
| 30 minutes | Easy | 4 | Chicken Breast |
This Caprese Chicken Salad is simple to prepare, making it ideal for cooks of all skill levels. The total preparation time is about 10 minutes with an additional cooking time of 20 minutes. For enhanced flavor, consider marinating the chicken in Italian herbs for about 30 minutes before grilling.
| Ingredients | Quantity |
|---|---|
| Chicken breasts | 1.5 lbs (680g) |
| Fresh mozzarella balls | 8 oz (225g) |
| Ripe tomatoes | 4 (sliced) |
| Fresh basil leaves | 1 cup |
| Olive oil | 2 tablespoons |
| Balsamic glaze | ¼ cup |
| Salt | to taste |
| Pepper | to taste |
Variations of this recipe can include adding other ingredients such as avocado, arugula, or grilled zucchini. You can also use different types of cheeses like feta or goat cheese, and replace balsamic glaze with lemon vinaigrette for a unique twist.
| Kitchen Tool | Purpose in Recipe |
|---|---|
| Grill or Grill Pan | For grilling the chicken |
| Cutting Board | To prepare all the ingredients |
| Chef’s Knife | For slicing vegetables and chicken |
| Measuring Spoons | To measure oil and glaze |
| Salad Bowl | For mixing and serving the salad |
| Tongs | For flipping the chicken and serving |
Cooking Steps
- Preheat the grill or grill pan to medium-high heat.
- Season the chicken breasts with olive oil, salt, and pepper on both sides.
- Place the chicken on the grill, cooking for about 6-7 minutes on each side, or until thoroughly cooked (internal temperature should reach 165°F/75°C).
- Once cooked, remove the chicken from the grill and let it rest for 5 minutes before slicing.
- In a large salad bowl, combine the sliced chicken, mozzarella balls, tomato slices, and fresh basil leaves.
- Drizzle the balsamic glaze over the salad and gently toss to combine all ingredients.
- Season with additional salt and pepper to taste before serving.
To present this delicious Caprese Chicken Salad, arrange the sliced chicken atop a bed of fresh salad greens in a large bowl. Garnish with whole basil leaves and drizzle with extra balsamic glaze for a visually appealing and appetizing dish.
To complement the freshness of Caprese Chicken Salad, pair it with a light side dish such as garlic bread or a quinoa salad. For drinks, a crisp white wine like Pinot Grigio or a refreshing iced tea would enhance the meal’s flavors.
Teriyaki Chicken Bowls
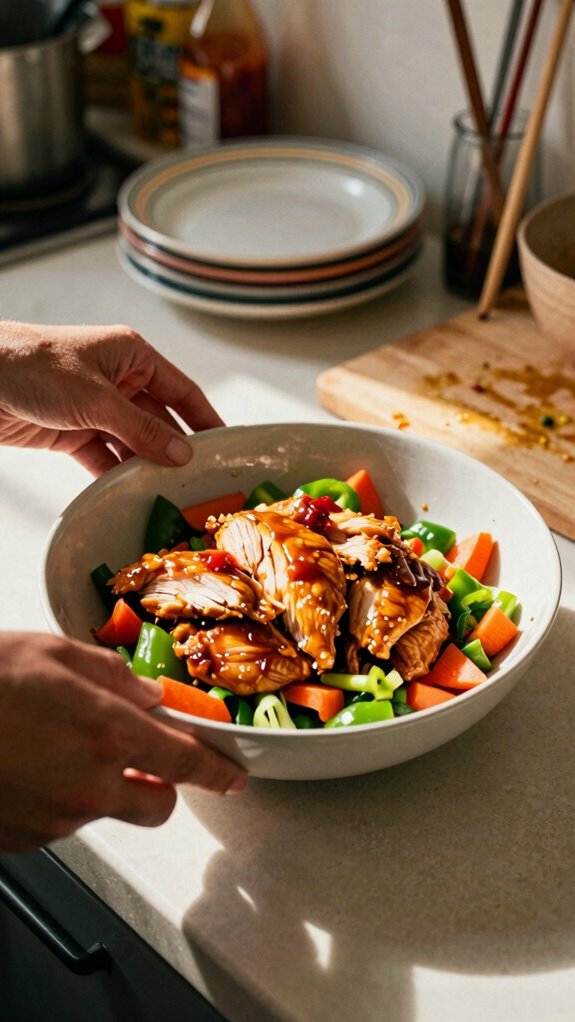
Teriyaki Chicken Bowls are a delightful and savory dish that effortlessly combines tender chicken breast marinated in a sweet and tangy teriyaki sauce, served over a bed of fluffy rice and topped with fresh vegetables. This dish is not only quick to make but also offers a satisfying balance of flavors and textures, making it perfect for a busy weeknight dinner or a meal prep option.
| Total Time | Difficulty | Number of Servings | Main Ingredient |
|---|---|---|---|
| 35 minutes | Easy | 4 | Chicken Breast |
This Teriyaki Chicken Bowl is simple to prepare and perfect for cooks of all skill levels. The total preparation time takes about 15 minutes, while the cooking time is approximately 20 minutes. For an extra depth of flavor, consider marinating the chicken in the teriyaki sauce for 30 minutes before cooking.
| Ingredients | Quantity |
|---|---|
| Chicken breasts | 1.5 lbs (680g) |
| Teriyaki sauce | ½ cup |
| Jasmine rice | 2 cups |
| Broccoli florets | 2 cups |
| Carrot (julienned) | 1 large |
| Bell pepper (sliced) | 1 large |
| Green onions (sliced) | ¼ cup |
| Sesame seeds | 2 tablespoons |
| Olive oil | 1 tablespoon |
| Salt | to taste |
| Pepper | to taste |
For variations, you can add additional vegetables such as snap peas or bok choy, substitute jasmine rice with brown rice or quinoa, or even use tofu or shrimp in place of chicken for a different protein option. You could also drizzle extra teriyaki sauce over the top for added flavor.
| Kitchen Tool | Purpose in Recipe |
|---|---|
| Skillet or Wok | For cooking the chicken and vegetables |
| Rice Cooker or Pot | For cooking the rice |
| Chef’s Knife | For slicing vegetables and chicken |
| Cutting Board | To prepare all the ingredients |
| Measuring Cups | To measure rice and sauce |
| Serving Bowls | For presenting the finished dish |
Cooking Steps
- Cook the jasmine rice according to package instructions and set aside.
- In a skillet or wok, heat olive oil over medium-high heat.
- Add the chicken breasts to the skillet and season with salt and pepper. Cook for 5-6 minutes on each side, or until the chicken is cooked through (internal temperature should reach 165°F/75°C).
- Once the chicken is cooked, pour the teriyaki sauce over it and cook for an additional 2-3 minutes, letting the sauce thicken slightly.
- Remove the chicken from the skillet and let it rest for a few minutes before slicing it into strips.
- In the same skillet, add the broccoli, carrots, and bell pepper. Stir-fry for 4-5 minutes until the vegetables are tender but still crisp.
- To assemble the bowls, place a serving of rice at the bottom, add the sliced chicken on top, and arrange the stir-fried vegetables around it.
- Sprinkle sliced green onions and sesame seeds on top before serving.
To serve and present the Teriyaki Chicken Bowls in the best possible way, use deep, wide bowls to showcase the colorful layers of rice, chicken, and vegetables. Garnish with additional sesame seeds and green onions for an attractive and appetizing appearance.
Pair these Teriyaki Chicken Bowls with refreshing cucumber salad or steamed dumplings for a complete meal. For drinks, iced green tea or a crisp lager would complement the sweet and savory flavors of the dish perfectly.
Chicken Piccata
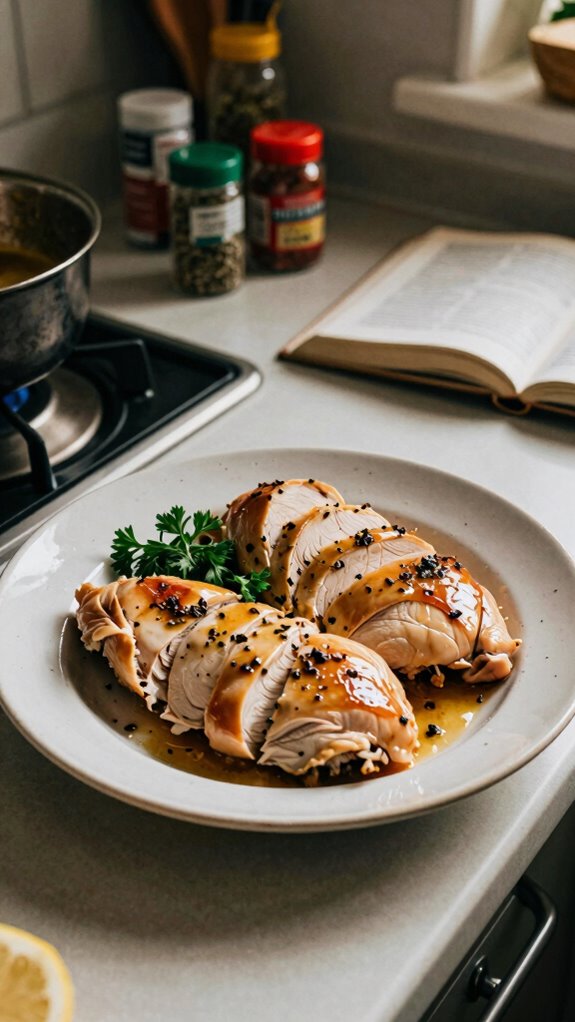
Chicken Piccata is a classic Italian-American dish renowned for its bright and tangy flavor profile, thanks to the luscious lemon caper sauce that complements the tender pan-seared chicken breast. This dish pairs beautifully with pasta or a fresh salad, making it a delightful option for any occasion, from a cozy family dinner to a more elegant gathering.
| Total Time | Difficulty | Number of Servings | Main Ingredient |
|---|---|---|---|
| 30 minutes | Easy | 4 | Chicken Breast |
Chicken Piccata is relatively easy to prepare and is suitable for cooks of all skill levels. The total preparation time is approximately 10 minutes, while the cooking time takes about 20 minutes. For the best results, ensure the chicken is evenly pounded to an even thickness for consistent cooking, and consider using fresh lemon juice for an extra zing.
| Ingredients | Quantity |
|---|---|
| Chicken breasts | 1.5 lbs (680g) |
| All-purpose flour | ½ cup |
| Salt | to taste |
| Pepper | to taste |
| Olive oil | 2 tablespoons |
| Unsalted butter | 4 tablespoons |
| Garlic (minced) | 3 cloves |
| Chicken broth | 1 cup |
| Fresh lemon juice | ¼ cup |
| Capers | 2 tablespoons |
| Fresh parsley (chopped) | ¼ cup |
For variations, you can substitute chicken with veal or fish, such as sole, for a different twist. Additionally, you can experiment with using white wine in place of chicken broth for a richer flavor or add sliced mushrooms for an earthy element.
| Kitchen Tool | Purpose in Recipe |
|---|---|
| Skillet | For searing the chicken and making the sauce |
| Meat Mallet | To pound chicken breasts for even cooking |
| Measuring Cups | To measure flour, broth, and lemon juice |
| Chef’s Knife | For mincing garlic and chopping parsley |
| Cutting Board | To prepare and cut all ingredients |
| Serving Plate | For presenting the finished dish |
Cooking Steps
- Begin by preparing the chicken breasts: place each breast between two pieces of plastic wrap or parchment paper and pound to about ½ inch thickness using a meat mallet.
- Season both sides of the chicken breasts with salt and pepper, then dredge them in all-purpose flour, shaking off any excess.
- In a skillet, heat olive oil over medium-high heat until sizzling. Add the chicken breasts to the skillet and cook for 3-4 minutes on each side until golden brown and cooked through. Remove the chicken from the skillet and set aside.
- In the same skillet, melt the butter and add minced garlic, sautéing until fragrant (about 30 seconds).
- Deglaze the pan with chicken broth and fresh lemon juice, scraping up any bits stuck to the bottom of the pan. Let the sauce simmer for a few minutes until slightly reduced.
- Stir in the capers and return the chicken to the skillet, spooning the sauce over the top. Let it cook for a minute to warm the chicken through.
- Remove from heat and garnish with fresh chopped parsley before serving.
When serving Chicken Piccata, plate the chicken breasts and generously spoon the lemon caper sauce over the top. For added color and freshness, you can sprinkle more chopped parsley on top. This dish pairs well with a side of pasta tossed in olive oil or a crisp green salad.
To complement your Chicken Piccata, consider pairing it with a simple arugula salad dressed with lemon vinaigrette. For drinks, a chilled glass of Pinot Grigio or a light sparkling water with lemon are excellent choices that enhance the dish’s bright flavors.
Thai Peanut Chicken Wraps
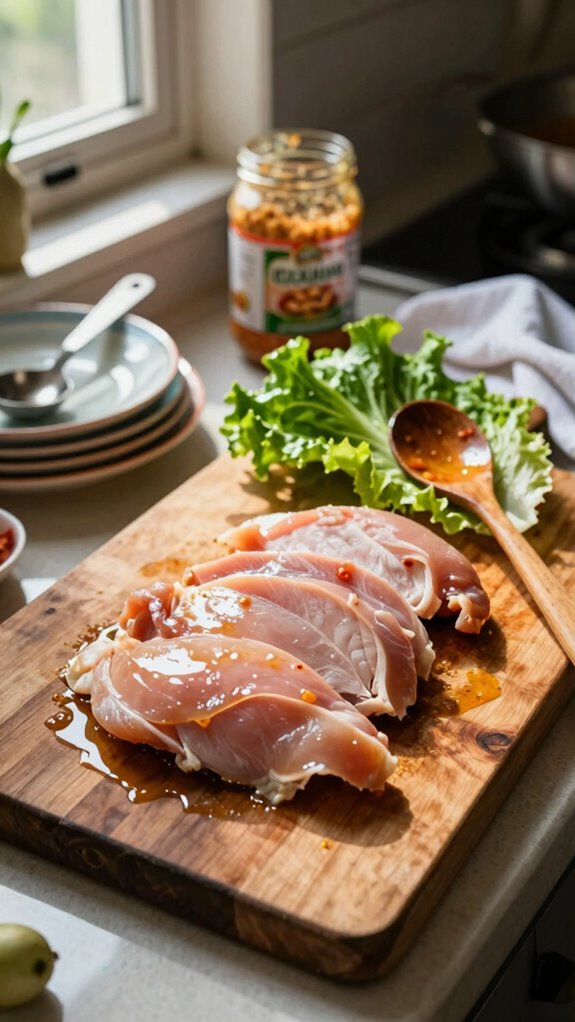
Thai Peanut Chicken Wraps are a delightful fusion dish that combines tender, marinated chicken with a rich and creamy peanut sauce, all wrapped up in a fresh lettuce or tortilla wrap. This dish is not only packed with flavor but also offers a refreshing crunch that makes it perfect for a quick lunch, a light dinner, or even as an appetizer for gatherings.
| Total Time | Difficulty | Number of Servings | Main Ingredient |
|---|---|---|---|
| 25 minutes | Easy | 4 | Chicken Breast |
Thai Peanut Chicken Wraps are simple enough for cooks of all levels to tackle. The total preparation time is about 10 minutes, while the cooking time takes approximately 15 minutes. For a smoother peanut sauce, consider blending it to a creamy consistency, and feel free to adjust the spice level according to your preference.
| Ingredients | Quantity |
|---|---|
| Chicken breasts | 1 lb (450g) |
| Peanut butter | ½ cup |
| Soy sauce | 2 tablespoons |
| Honey | 1 tablespoon |
| Rice vinegar | 1 tablespoon |
| Garlic (minced) | 2 cloves |
| Cucumber (julienned) | 1 medium |
| Carrots (shredded) | 1 cup |
| Green onions (chopped) | ¼ cup |
| Lettuce leaves or tortillas | 8 (for wrapping) |
For variations, you can use grilled shrimp or tofu in place of chicken for a vegetarian option. Additionally, feel free to add your favorite veggies, such as bell peppers or shredded cabbage, into the wraps for extra crunch and nutrition.
| Kitchen Tool | Purpose in Recipe |
|---|---|
| Skillet | For cooking the chicken |
| Mixing Bowl | To mix the peanut sauce ingredients |
| Whisk | To blend the peanut sauce smoothly |
| Knife | For slicing vegetables |
| Cutting Board | To prepare the veggies and chicken |
| Serving Platter | For presenting the finished wraps |
Cooking Steps
- Start by cooking the chicken breasts in a skillet over medium heat until they are fully cooked, about 6-7 minutes per side. Once done, let them rest for a few minutes before slicing them thinly.
- In a mixing bowl, combine the peanut butter, soy sauce, honey, rice vinegar, and minced garlic. Whisk until smooth and creamy.
- Prepare the veggies by julienning the cucumber and shredding the carrots.
- Lay out the lettuce leaves or tortillas on a flat surface. Spread a generous amount of the peanut sauce onto each wrap.
- Layer the sliced chicken, cucumber, and carrots on top of the sauce in each wrap.
- Sprinkle chopped green onions over the top, then fold and roll the wraps tightly, securing the fillings inside.
To serve, arrange the Thai Peanut Chicken Wraps on a large serving platter, and consider cutting them in half for presentation. Serve with extra peanut sauce on the side for dipping to enhance the flavor.
For the perfect pairing, these wraps go well with a side of fresh vegetable spring rolls or a crisp Asian slaw. To drink, consider serving iced tea or a light beer to complement the flavors without overpowering the dish.
BBQ Chicken Sliders
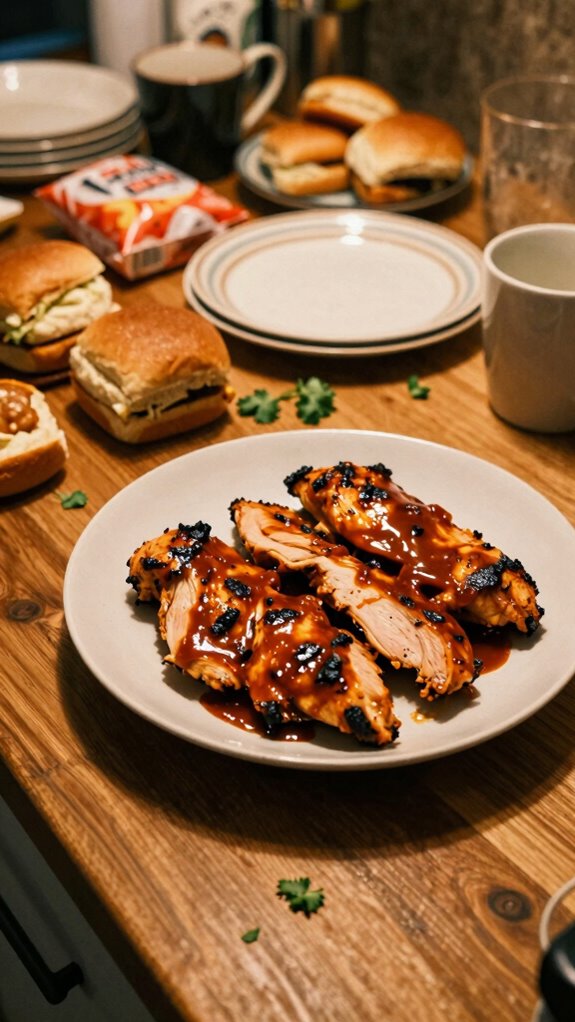
BBQ Chicken Sliders are a delicious and satisfying dish that showcases tender, shredded chicken coated in a tangy BBQ sauce, served on soft slider buns. These sliders are perfect for casual gatherings, parties, or a family game day, combining the fun of finger food with bold, mouthwatering flavors.
| Total Time | Difficulty | Number of Servings | Main Ingredient |
|---|---|---|---|
| 40 minutes | Easy | 6 | Chicken Breast |
BBQ Chicken Sliders are simple enough for any home cook to master. The total preparation time is about 10 minutes, while the cooking time takes approximately 30 minutes. For best results, make sure to use cooked chicken; shredded rotisserie chicken can save even more time without compromising flavor. Adjust the amount of BBQ sauce to match your preferred spice level.
| Ingredients | Quantity |
|---|---|
| Chicken breasts | 1 lb (450g) |
| BBQ sauce | ¾ cup |
| Slider buns | 6 |
| Red onion (sliced) | ½ medium |
| Coleslaw mix | 2 cups |
| Olive oil | 1 tablespoon |
| Salt and pepper | To taste |
| Pickles (optional) | For topping |
For variations, try substituting the chicken with pulled pork or jackfruit for a vegetarian option. You can also mix in different BBQ sauces for unique flavor profiles, such as using honey BBQ or spicy chipotle BBQ. Adding crispy bacon or sliced jalapeños can provide an extra kick!
| Kitchen Tool | Purpose in Recipe |
|---|---|
| Skillet | For cooking and shredding the chicken |
| Mixing Bowl | To combine the shredded chicken with BBQ sauce |
| Spoon | For mixing ingredients |
| Knife | For slicing onions and buns |
| Cutting Board | To prepare the vegetables |
| Serving Platter | For presenting the sliders |
Cooking Steps
- Begin by cooking the chicken breasts in a skillet over medium heat until fully cooked through, approximately 6-7 minutes per side. Once cooked, remove from heat and let the chicken cool slightly.
- Once cooled, shred the chicken using two forks or your hands and set it aside.
- In a mixing bowl, combine the shredded chicken with the BBQ sauce, and mix well until the chicken is thoroughly coated.
- Slice the slider buns in half and lightly toast them in the skillet with olive oil until golden brown.
- Assemble the sliders by placing a generous portion of the BBQ chicken on the bottom half of each bun. Top with sliced red onions and a scoop of coleslaw. If desired, add pickles for extra flavor, and then place the top halves of the buns on each slider.
- Serve the sliders warm or at room temperature.
To present BBQ Chicken Sliders beautifully, arrange them neatly on a serving platter. You can garnish the platter with extra coleslaw or pickles, providing a colorful and appetizing display. Consider adding toothpicks or small skewers to hold the sliders together for easy serving.
For side dish pairings, BBQ Chicken Sliders go well with classic favorites like potato salad, sweet potato fries, or baked beans. As for drinks, consider refreshing iced tea, lemonade, or a light lager beer to complement the bold BBQ flavors.